
Yardtally is reader-supported. Some links on this page are affiliate links. As an Amazon Associate, Yardtally earns from qualifying purchases. See our Affiliate Disclosure.
Learning how to build a pergola in your backyard is one of those projects that looks more complicated than it is — once you understand the structure. A pergola is essentially four posts connected by beams and rafters. There’s no roofing, no complex framing, and no foundation beyond setting the posts correctly. What makes it work or fail isn’t the carpentry — it’s the planning. Post placement, lumber size, and the depth you set those posts determine whether the structure stands solid for twenty years or shifts after the first winter.
I’ve been researching this before tackling my own pergola, and the same fundamentals come up every time. This guide walks through the full process — sizing, lumber selection, post setting, beam and rafter installation, and the finishing steps that separate a pergola that looks built from one that looks assembled.
What’s in This Guide
- Before You Build — Plan First
- Pergola Size and Design
- Lumber Selection
- Tools and Materials You’ll Need
- Step 1 — Lay Out the Post Locations
- Step 2 — Set the Posts
- Step 3 — Install the Beams
- Step 4 — Install the Rafters
- Step 5 — Add Decorative Bracing
- Step 6 — Finish and Protect the Wood
- How to Make Your Pergola More Functional
- FAQ
Before You Build a Pergola in Your Backyard — Plan First
The most expensive pergola mistakes happen before a single board is cut. Planning covers three things that can’t be undone easily once the posts are in the ground: location, size, and permits.
Call 811 Before You Dig
811 is the national dig-safe line. Call at least three business days before you dig any post holes. A buried utility line — gas, electric, water, or telecom — can run anywhere in a yard, and hitting one is dangerous, expensive, and in most states legally your liability if you didn’t call first. This call is free, takes five minutes, and saves you from a genuinely bad day.
Check Local Permit Requirements
Most municipalities require a permit for a freestanding structure over a certain size — typically anything with a footprint over 100 to 200 square feet, or anything over a certain height. Attached pergolas (connected to the house) almost always require a permit. Check with your local building department before breaking ground. A pergola built without a required permit can cause problems when you sell the property and may need to be removed or modified at your expense.
Choose the Right Location
The ideal location for a backyard pergola is level ground with reasonable access from the house and a clear purpose — shade for a patio, definition for an outdoor dining area, or a transition between lawn and garden. Consider sun angle: a pergola on the west side of the house provides afternoon shade, which is usually what people want in summer. A pergola on the south side gets sun most of the day with shade from the rafters’ shadows.
Keep the structure at least 10 feet from property lines in most jurisdictions — though your local setback requirements may differ. Check before you place posts.
Pergola Size and Design — What to Know
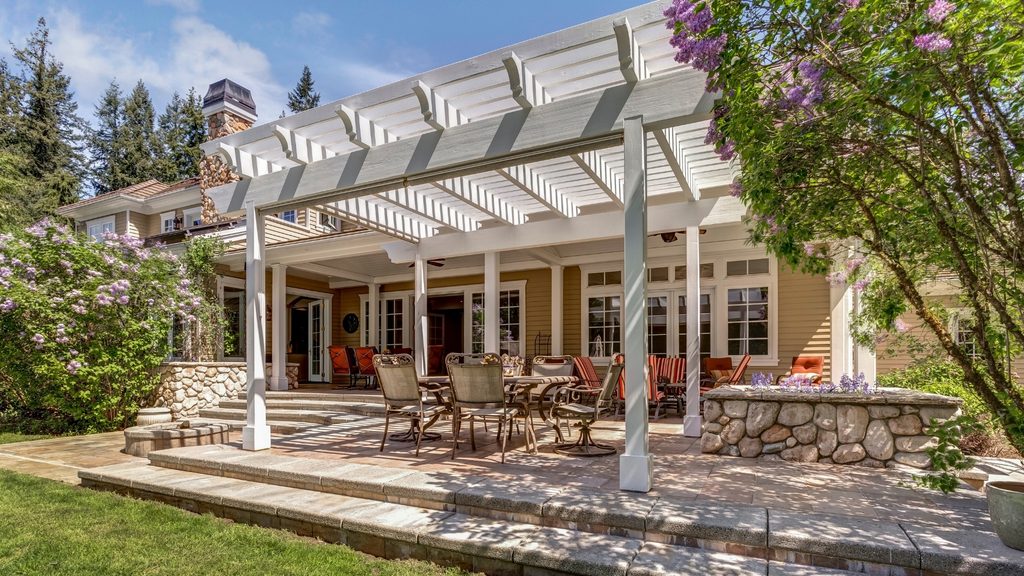
Pergola size is driven by what you want to cover. Measure the furniture or patio area the pergola will shelter, then add at least 2 feet on each side. A pergola that exactly covers a patio looks undersized and feels cramped — the overhang is what gives it a finished, architectural look.
Common sizes for residential pergolas: 10×10, 10×12, 12×12, and 12×16. A 10×10 covers a modest seating area for two to four people. A 12×16 covers a full outdoor dining set comfortably. Larger pergolas (16×20 and up) typically require a more experienced builder and heavier lumber than a standard DIY project.
Height matters for both aesthetics and function. Standard pergola height is 8 to 10 feet at the top of the rafters. Less than 8 feet feels low and enclosed. More than 10 feet starts to look proportionally off on a standard residential lot and requires longer, heavier posts.
Lumber Selection — What to Use and What to Avoid
The right lumber choice determines how long your pergola lasts and how much maintenance it requires. Three options dominate residential pergola builds:
Cedar
Cedar is the premium choice for a DIY pergola. It’s naturally rot-resistant, dimensionally stable, doesn’t warp as dramatically as pine under moisture cycles, and takes stain and paint beautifully. A cedar pergola properly finished and maintained will last 20 to 30 years. The downside is cost — cedar runs roughly two to three times the price of pressure-treated pine.
Pressure-Treated Pine
Pressure-treated lumber is the most common choice for DIY pergolas because it’s widely available, affordable, and rot-resistant. Modern pressure-treated wood uses copper-based preservatives that are significantly safer than the arsenic-based treatments used before 2004. For a pergola that will be painted or stained and isn’t in direct contact with edible plants, pressure-treated pine is a practical and durable choice.
One important note: pressure-treated lumber arrives from the lumber yard wet and will shrink and potentially crack as it dries. Let it acclimate for a few weeks before finishing if possible, or accept that minor surface checking (small cracks) is normal and doesn’t affect structural integrity.
Composite and Aluminum
Composite pergola kits and aluminum systems are maintenance-free alternatives that won’t rot, warp, or require refinishing. They’re more expensive upfront but eliminate the ongoing maintenance that wood requires. If you want a pergola that you never have to think about again, a composite or aluminum system is worth the premium.
Tools and Materials You’ll Need
For a standard freestanding 12×12 wood pergola:
- Four 6×6 posts (length = desired height + depth below grade, typically 10 to 12 feet total)
- Two 2×8 or 2×10 beams (the long members that span post to post)
- Seven to nine 2×6 rafters (spaced 16 to 24 inches apart across the beams)
- Post base hardware or concrete for setting posts
- Joist hanger hardware and structural screws
- Concrete (if setting posts in ground)
- Post level
- Circular saw or miter saw
- Drill and impact driver
- Speed square
- String line and stakes for layout
A post level is one of the most useful tools for this project — it clips onto the post and shows plumb in two directions simultaneously so you can set posts correctly without a helper holding a level.
Step 1 — Lay Out the Post Locations
Accurate post placement is the foundation of everything else. Use string lines and stakes to mark the exact corners of the pergola footprint. Measure diagonally from corner to corner — if both diagonal measurements are equal, the layout is square. If they’re not, adjust until they match before digging anything.
Mark each post location with a stake or spray paint. Double-check spacing with a tape measure along all four sides before you start digging.
Step 2 — Set the Posts
Posts can be set two ways: buried in concrete or mounted to the ground with post base hardware. Each has tradeoffs.
Buried in Concrete
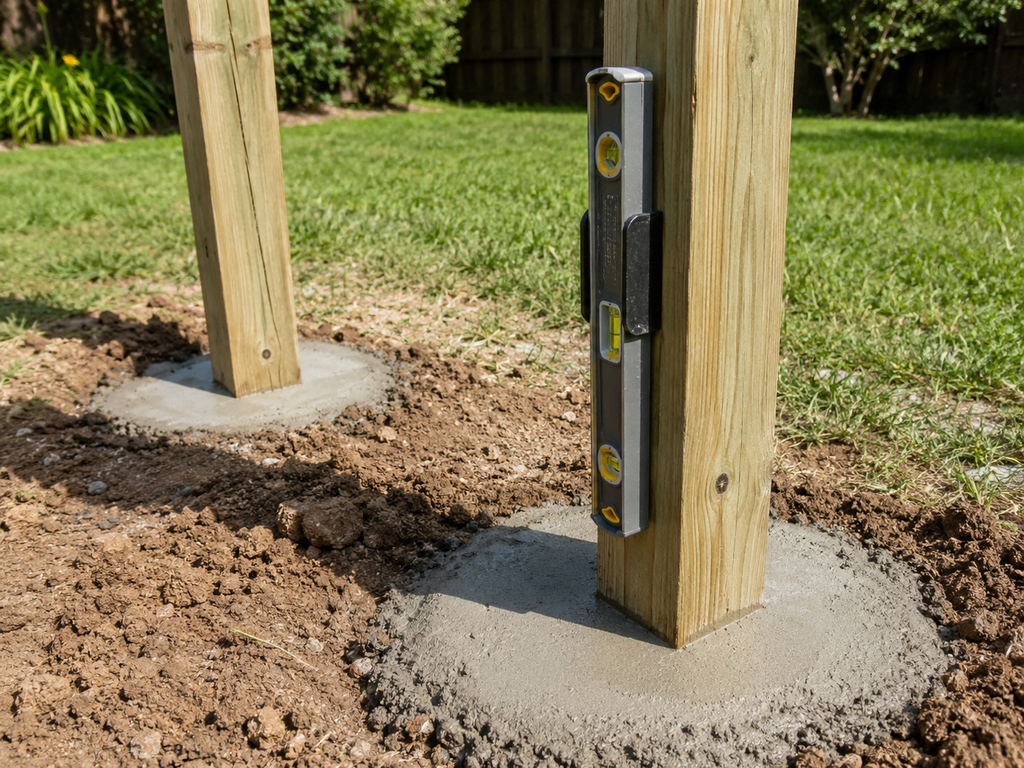
Setting posts in concrete is the most secure method and the traditional approach for permanent structures. Posts should be buried to a depth of at least one-third their total length — for an 8-foot finished height, the post should be at least 10 feet long with 2 feet underground, ideally deeper in cold climates where frost heave is a concern. In Indiana and similar Zone 6 climates, 36 to 42 inches of depth gets below the frost line.
Dig each hole with a post hole digger or rented power auger to the required depth. Add 6 inches of gravel at the bottom for drainage. Set the post, check plumb in both directions with a post level, brace it temporarily, and pour concrete around it. Let concrete cure at least 48 hours before adding any load.
A fast-setting concrete mix eliminates the mixing step — pour the dry mix into the hole around the post, add water, and it sets in 20 to 40 minutes.
Post Base Hardware
Surface-mounted post bases anchor to an existing concrete patio or slab with anchor bolts, keeping the post off the ground and eliminating the rot risk that comes with wood-to-soil contact. This method is easier, faster, and ideal when you’re building over an existing patio. The tradeoff is that surface-mounted bases are slightly less rigid than buried posts under lateral load — adequate for most residential pergolas but worth discussing with a structural engineer for very large or exposed structures.
Step 3 — Install the Beams
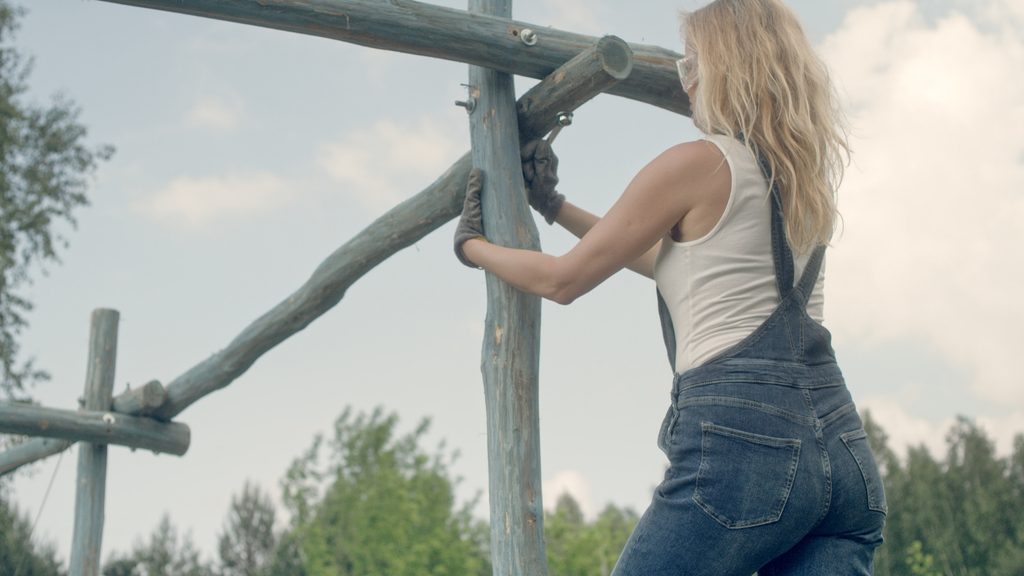
Beams are the horizontal members that span from post to post along the long dimension of the pergola. They carry the rafters and transfer load to the posts.
Mark the beam height on each post — typically 1 to 2 inches below the top of the post — and cut a notch (called a dado or seat cut) into the post face for the beam to rest in. This notch keeps the beam from shifting laterally and is significantly stronger than simply toe-screwing the beam to the post face.
Lift the beam into position — this is where a second person is essential — seat it in the notches, check that it’s level, and fasten with structural screws or through-bolts. Two people are not optional for this step on any pergola with beams longer than 8 feet.
Deck screws in structural lengths (3 to 3.5 inch) are the right fastener for beam-to-post connections — use at least three per connection point.
Step 4 — Install the Rafters
Rafters span perpendicular to the beams across the width of the pergola. They’re the top layer of the structure and create the characteristic shadow pattern that makes a pergola distinctive.
Space rafters 16 to 24 inches on center — tighter spacing creates more shade, wider spacing lets in more light and has a more open feel. Mark rafter positions on both beams before installing so spacing is consistent across the structure.
Rafters typically overhang the beams by 12 to 18 inches on each end — this overhang is what gives a pergola its finished architectural look. Cut the rafter ends at an angle (a common profile is a simple 45-degree chamfer or a decorative curved cut) to add visual interest and reduce the blunt appearance of a square cut end.
Set each rafter in place, check that it’s square to the beam, and fasten with structural screws through the top or hurricane ties on the underside. Hurricane ties are worth using in any climate with significant wind events — they add minutes to the installation and significantly improve the structure’s resistance to uplift.
Step 5 — Add Decorative Bracing (Optional but Recommended)
Diagonal braces between posts and beams — called knee braces — add both visual interest and structural rigidity. They’re cut at 45 degrees and installed in the upper corners between each post and the beam above it. On a pergola without lateral bracing, knee braces prevent the structure from racking (shifting out of square) under wind load.
Even if your pergola feels solid without them, knee braces are worth adding. They’re inexpensive, relatively quick to install, and make the finished structure look intentional rather than utilitarian.
Step 6 — Finish and Protect the Wood
Unfinished wood in an outdoor structure will gray, crack, and deteriorate significantly faster than finished wood. Apply a penetrating wood stain or exterior wood sealer within a few weeks of completing the build — before the wood weathers.
For pressure-treated lumber, let it dry for at least a few weeks before applying finish — fresh PT lumber repels stain. A simple test: sprinkle water on the surface. If it beads up, the wood is still too wet to accept finish. If it absorbs, it’s ready.
Exterior wood stain applied every two to three years keeps a pressure-treated or cedar pergola looking clean and extends its lifespan significantly.
How to Make Your Pergola More Functional
A finished pergola is a starting point, not an endpoint. A few additions make the space significantly more usable:
Climbing plants — wisteria, climbing roses, honeysuckle, or clematis — trained up the posts and over the rafters turn a wood structure into a living feature. Give them time; most climbing plants take two to three seasons to cover a pergola meaningfully.
Shade fabric or a retractable canopy mounted across the rafters converts a pergola from a decorative structure into functional shade. This is the most common upgrade homeowners make after the first hot summer.
String lights mounted along the rafters extend the usable hours of the space into evening and are one of the most popular pergola additions. Use outdoor-rated string lights with heavy-gauge wire rather than the lightweight café-style lights, which tend to fail in weather exposure.
If your pergola is going over a patio or seating area, make sure the underlying surface is level and finished before the posts go in. Our guide on how to lay pavers covers the base preparation and installation process if you’re building the patio and pergola together.
Frequently Asked Questions About Building a Backyard Pergola
Do I need a permit to build a pergola in my backyard?
In most municipalities, yes — if the pergola exceeds a certain footprint
(often 100 to 200 square feet) or height. Attached pergolas connected to
the house almost always require a permit. Requirements vary significantly
by city and county, so check with your local building department before
you start. A permit-free pergola that violates local code can create
problems when you sell your home and may need to be removed or modified.
How deep do pergola posts need to be?
At minimum, posts should be buried to one-third of their total length.
For an 8-foot finished height, that means a 10-foot post with at least
2 feet underground. In Indiana and other Zone 6 climates, the frost line
is 36 to 42 inches deep — posts should reach that depth to prevent frost
heave from shifting the structure over time. Shallow posts are the most
common cause of pergolas that shift, lean, or become unstable after a
few winters.
What’s the best wood for a DIY pergola?
Cedar is the premium choice — naturally rot-resistant, stable, and finishes
beautifully. It costs two to three times as much as pressure-treated pine,
which is the most common DIY choice. Modern pressure-treated lumber uses
copper-based preservatives that are significantly safer than older
arsenic-based treatments and is a practical, durable option for most
homeowners. Composite and aluminum systems are maintenance-free but more
expensive upfront.
How long does it take to build a pergola?
A standard 12×12 freestanding pergola is typically a two-day project for
two people with basic carpentry skills. Day one covers post layout, post
setting, and waiting for concrete to cure. Day two covers beam installation,
rafter installation, and bracing. Add a third day if you’re finishing the
wood with stain or sealer. Rushing the concrete cure time is the most
common mistake — it leads to posts that shift before the structure is
fully loaded.
Can I build a pergola by myself?
The post setting and layout can be done solo, but beam installation
requires at least two people for any pergola with beams longer than
8 feet. Lifting a heavy beam onto posts at height while keeping it
level is not a one-person job — it’s how injuries and damaged lumber
happen. For a 10×10 or smaller pergola with lighter lumber, experienced
DIYers manage solo, but two people makes the whole project significantly
faster and safer.