

Yardtally is reader-supported. Some links on this page are affiliate links. As an Amazon Associate, Yardtally earns from qualifying purchases. See our Affiliate Disclosure.
Knowing how to replace smoke detectors is one of those home maintenance tasks most people put off until a detector starts chirping — and by then, it’s usually long overdue. A smoke detector can pass its own test button and still fail to detect an actual fire — which is exactly why this catches people off guard. This guide covers how to know when replacement is overdue, how to choose the right detector, and how to do the swap correctly including the one decision that changes the whole approach.
What’s in This Guide
The 10-Year Rule Most Homeowners Don’t Know About
Battery vs. Hardwired: Know What You Have Before You Buy
What to Buy — and What to Skip
How to Replace a Battery-Only Smoke Detector
How to Replace a Hardwired Smoke Detector
How Many Smoke Detectors Does a House Need?
What Does It Cost When You Replace Smoke Detectors Yourself?
Frequently Asked Questions
The 10-Year Rule Most Homeowners Don’t Know About
Before you touch a single detector, check the manufacture date on the back of every unit in your house. Twist the detector off its mount and look at the label — it will say something like “MFG: 06/2013” or “Date of Manufacture.” According to the National Fire Protection Association (NFPA), all smoke detectors should be replaced 10 years from the manufacture date — not the install date, not the battery replacement date, and not when it stops working. The sensors degrade over time regardless of whether the unit passes its own test button. A detector that’s 11 years old and still chirping when you press test may not respond fast enough in a real fire. Source: NFPA — Smoke Alarms in the Home
This is what I found when I did my own walkthrough — one detector in the hallway had a manufacture date of 2011. It worked fine on test. I replaced it anyway. The NFPA and the U.S. Fire Administration both back the 10-year rule, and it’s the standard used by every major manufacturer. If you don’t know when your detectors were made, replace them now. There’s no way to know their remaining useful life without the date.
Battery vs. Hardwired: Know What You Have Before You Buy
The replacement process is different depending on which type you have, and buying the wrong unit is the most common mistake people make before they even start.
Battery-only detectors have no wires — they run entirely on replaceable or sealed batteries and mount directly to the ceiling or wall with a twist-on base. These are the simplest to replace: twist off the old one, snap on the new base, and twist the new detector in. If your detectors are in hallways, bedrooms, or living areas and you’ve never seen wires coming out of the ceiling around them, you likely have battery-only units.
Hardwired detectors connect to your home’s electrical system through a wiring harness in the ceiling box. They also have a battery backup. Most homes built after the 1990s have hardwired detectors, often interconnected — meaning if one goes off, they all go off. If you have interconnected alarms, you need to replace them with a compatible model that supports the same interconnect method. Check your existing detector’s brand and model number before buying a replacement, or buy the same brand across all units to guarantee compatibility.
What to Buy — and What to Skip
For a standard battery-only replacement, a sealed 10-year lithium battery detector is the right call. You install it, forget about it for a decade, and replace the whole unit when it starts end-of-life chirping. No annual battery swaps, no dead battery in the middle of the night. The
10-year sealed battery smoke detector is the one I’d point most homeowners toward — it covers the full decade without any battery maintenance.
One thing to be clear on: the article on our site about why smoke detectors turn yellow covers something worth checking before you buy — if your existing detectors have gone yellow or brown on the plastic housing, that yellowing is a visible sign of age and UV degradation, not just a cosmetic issue. It’s one more reason to replace rather than clean and reinstall.
What to skip: combination smoke and CO detectors have a shorter sensor lifespan — the CO sensor typically expires in 5 to 7 years even if the smoke sensor is still within its window. If you want CO protection, a dedicated standalone CO detector gives you more control over replacement timing. Skip any unit flagged as non-returnable or with a “Frequently Returned Item” warning on the product page.
How to Replace a Battery-Only Smoke Detector
This is the simpler of the two jobs and takes about five minutes per detector once you’ve done it once.
What you need
New smoke detector (compatible with your ceiling mount or with a new base), a stepladder, and that’s it.
Step 1 — Twist off the old detector
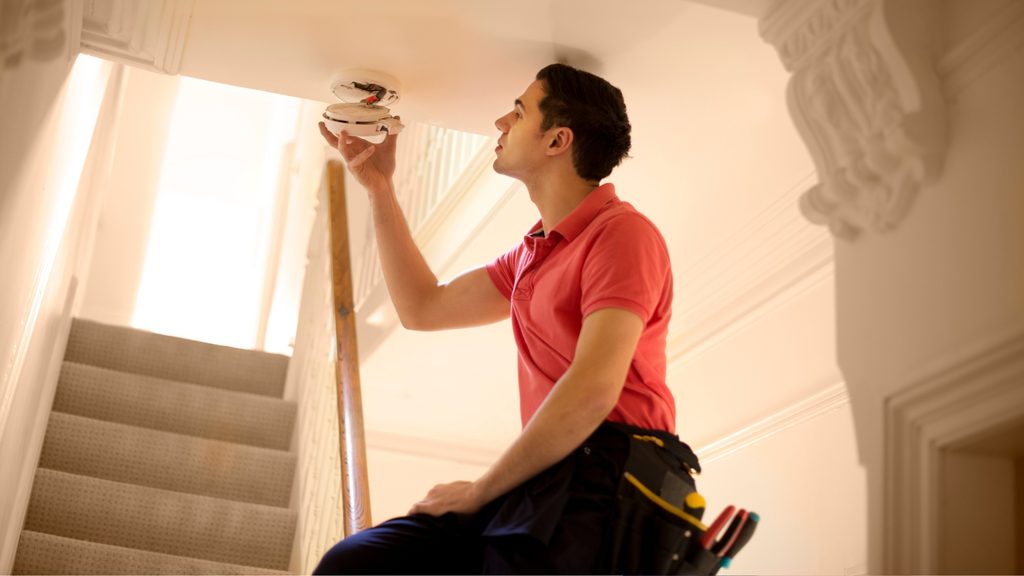
Most battery detectors use a quarter-turn twist-off mount. Grip the body of the detector firmly and rotate it counterclockwise until it releases from the base. If it doesn’t budge, check for a locking tab — some models have a small tab you press while twisting.
Step 2 — Remove the old base (if needed)
If your new detector uses the same base style, you may be able to leave the old base in place and just swap the detector body. If the bases are incompatible, unscrew the old base from the ceiling — usually two screws — and mount the new one in its place.
Step 3 — Install the new detector
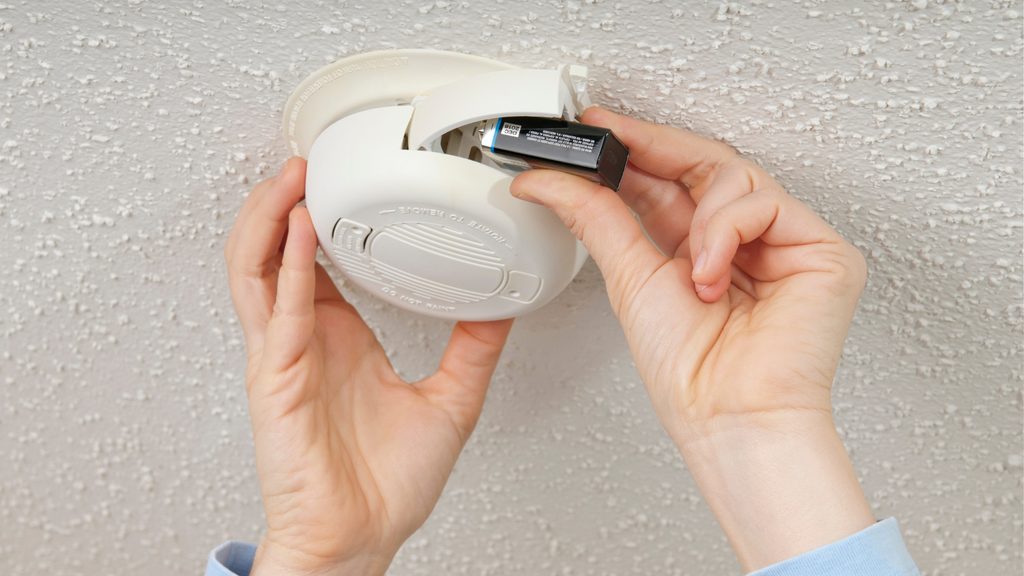
Pull the battery tab on sealed models or install batteries in standard models before mounting. Align the detector with the base and twist clockwise until it clicks into place. Press the test button — you should hear the alarm sound within a few seconds.
How to Replace a Hardwired Smoke Detector
Hardwired replacement looks more intimidating than it is. The wiring harness is a plug-in connector, not bare wire work — you’re not doing any electrical splicing. But you do need to cut power first, and you need to make sure your new detector is compatible with your existing interconnect system.
What you need
New hardwired smoke detector (same brand as existing units if interconnected), stepladder, Phillips screwdriver, and a non-contact voltage tester to confirm power is off before you touch the wiring.
Step 1 — Cut power at the breaker
Go to your electrical panel and flip the breaker for the smoke detector circuit. It may be labeled “smoke alarms,” “fire alarm,” or it may be on the same circuit as a room’s lighting. If you can’t identify it, flip breakers one at a time and test the detector with the test button — when the circuit is off, the button won’t trigger the alarm. Confirm with a non-contact voltage tester at the wiring harness before proceeding.
Step 2 — Twist off the old detector and disconnect the harness
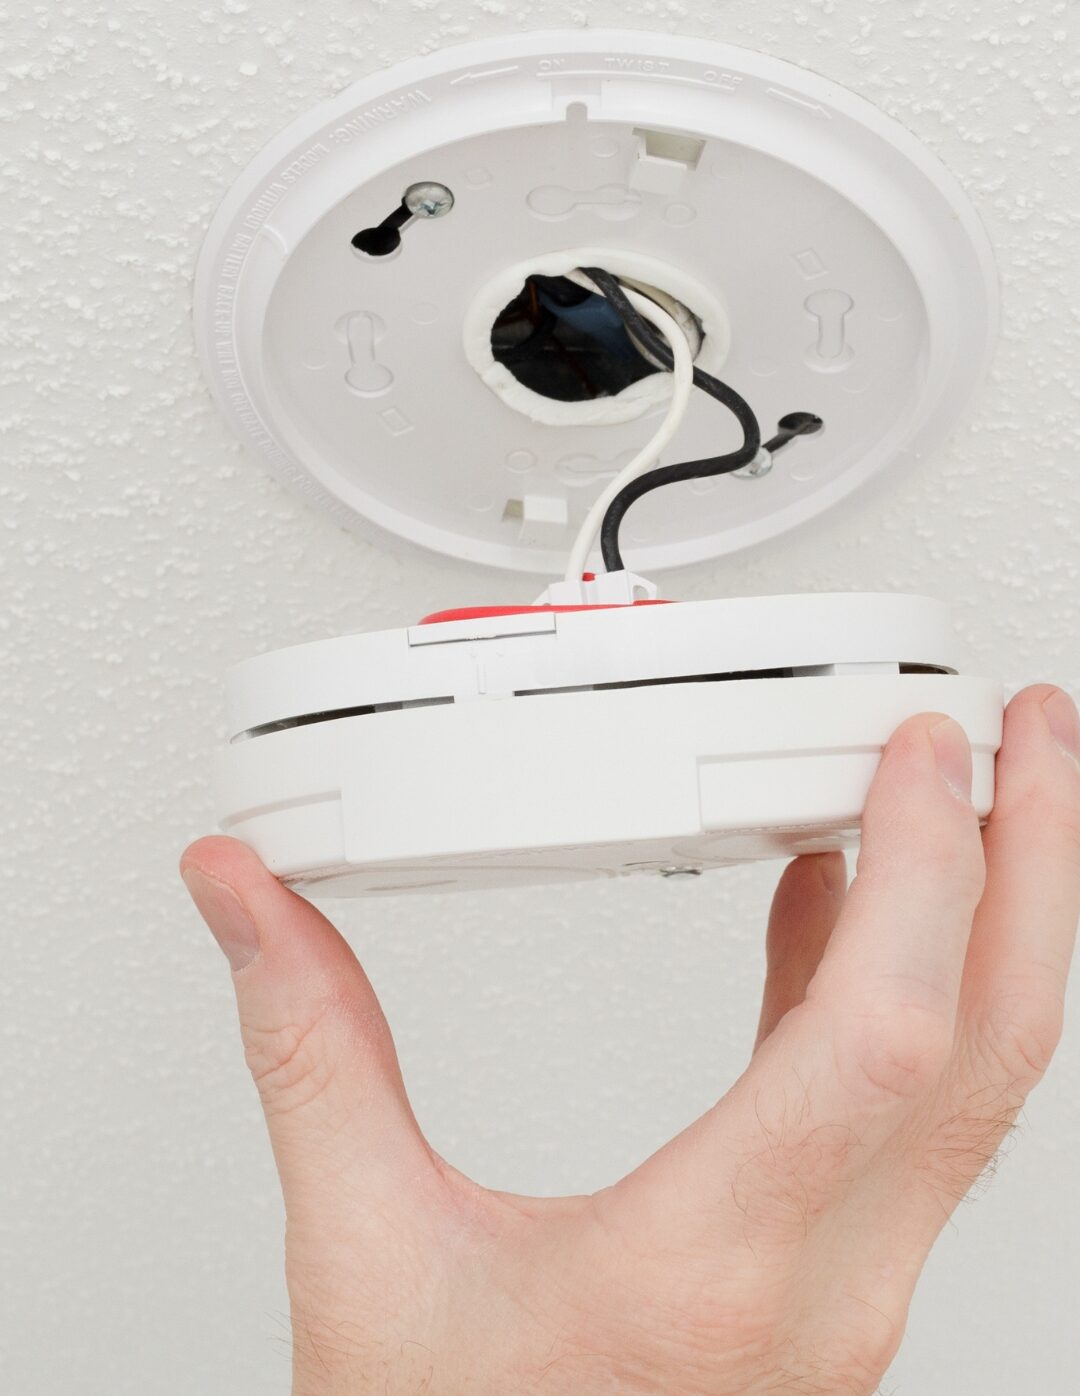
Twist the detector counterclockwise to release it from the mount. It will hang by the wiring harness connector — don’t yank it. Squeeze or press the tab on the harness connector and pull it apart. The detector is now free.
Step 3 — Remove the old mounting bracket if needed
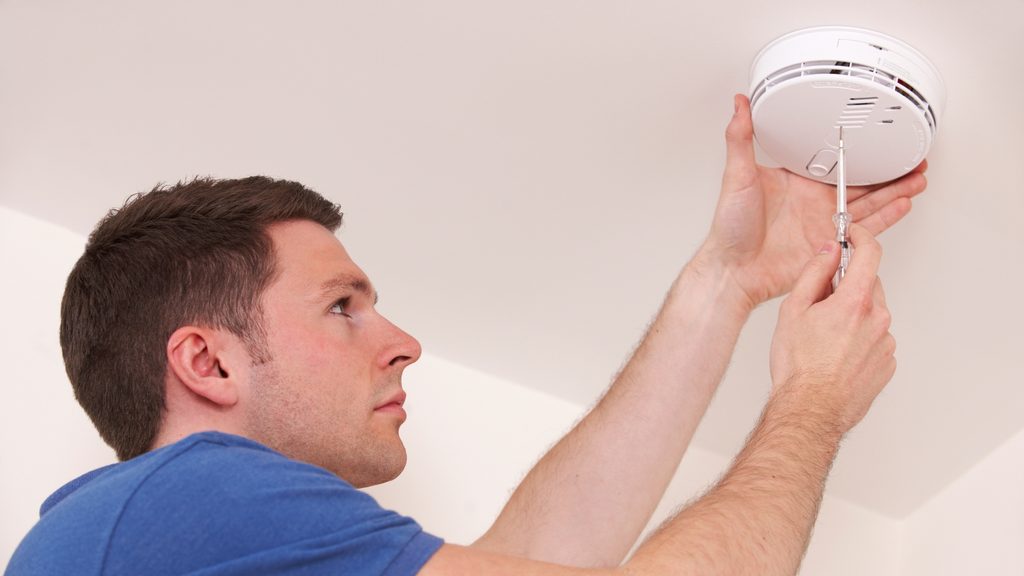
If your new detector uses a different base, unscrew the old mounting bracket from the electrical box and set it aside. Install the new bracket using the screws provided, making sure it sits flat against the ceiling.
Step 4 — Connect the wiring harness and mount the new detector
Plug the new detector’s wiring harness into the ceiling connector until it clicks. Match harness to harness — these are keyed connectors that only fit one way. Tuck any excess wire into the electrical box, align the detector with the mount, and twist clockwise until it locks.
Step 5 — Restore power and test
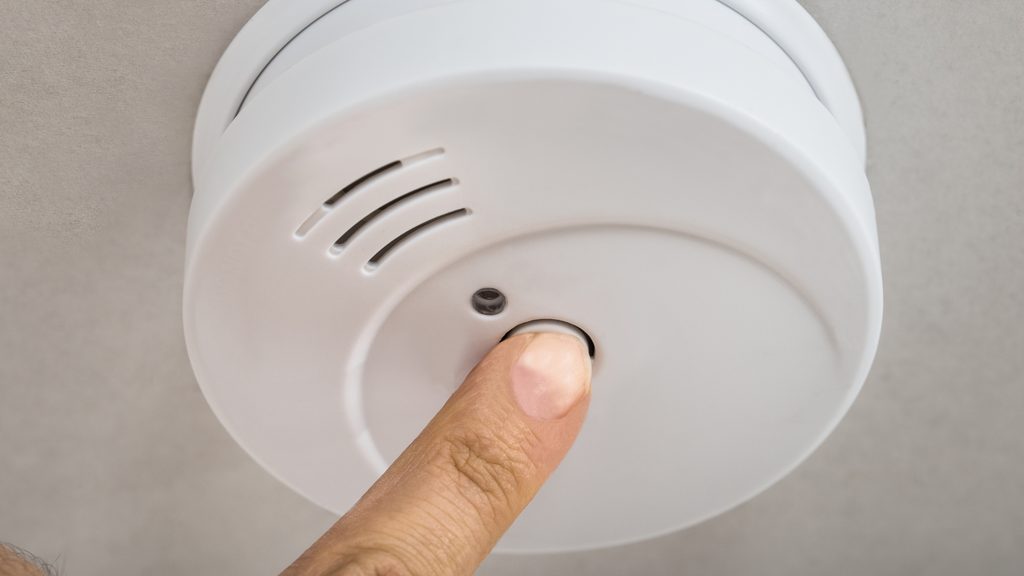
Flip the breaker back on. Press the test button on the new detector — the alarm should sound within a few seconds. If you have interconnected alarms, the test on one detector should trigger the others as well. Walk the house and confirm every unit responded. Why this step matters: interconnect wiring means if one detector isn’t communicating, you won’t know until you actually test the whole system together — not just the unit you replaced.
How Many Smoke Detectors Does a House Need?
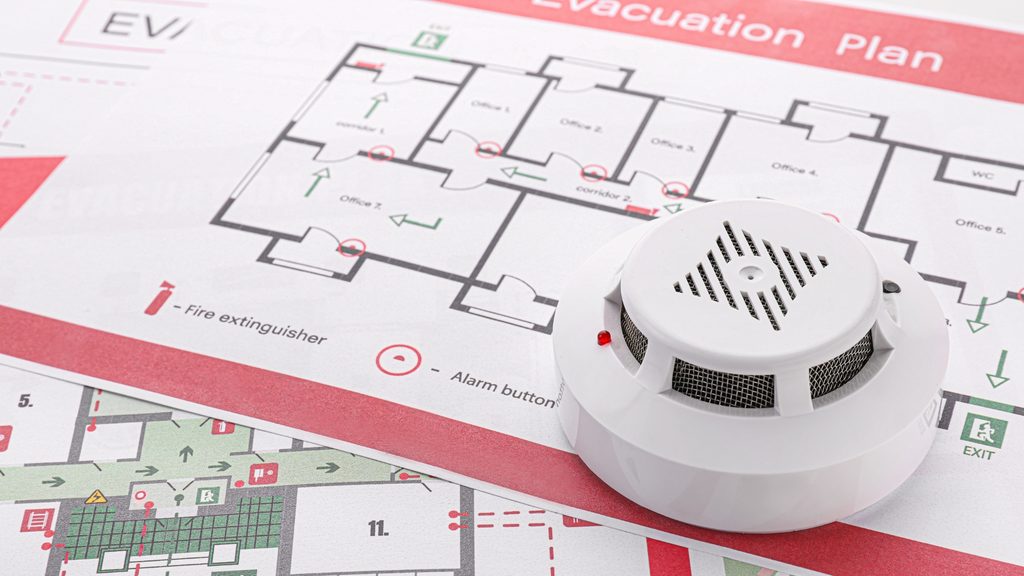
The NFPA minimum is one detector on every level of the home, one inside every bedroom, and one outside each sleeping area. In a two-story home with three bedrooms, that’s a minimum of seven detectors. Many homes are under-equipped — especially older homes where detectors were only installed in hallways. While you’re replacing units, walk the house and check placement. Detectors should be mounted on the ceiling or high on the wall (within 12 inches of the ceiling), away from cooking appliances, bathrooms, and HVAC vents. Source: U.S. Fire Administration — Smoke Alarms
What Does It Cost When You Replace Smoke Detectors Yourself?
DIY replacement costs between $15 and $30 per detector for a quality battery-only unit. Hardwired detectors run $20 to $50 each depending on the model and features. For a typical home with 6 to 8 detectors, budget $100 to $200 in materials for a full replacement. If you hire an electrician to handle hardwired units, add $35 to $50 per detector in labor. Most electricians can knock out a full house in an hour or two.
The sealed 10-year battery models cost a bit more upfront but save you the annual battery replacement cost and the 2am chirp problem. Over 10 years they’re a wash financially and a clear win on convenience.
Frequently Asked Questions About How to Replace Smoke Detectors
How do I know when to replace my smoke detectors?
Check the manufacture date printed on the label on the back of each unit — you’ll need to twist the detector off its mount to read it. The NFPA recommends replacing all smoke detectors 10 years from the manufacture date regardless of whether they still pass the test button. If you can’t find a date on any of your units, replace them now. There’s no way to know how much useful life remains without that date, and an expired detector may not respond fast enough in a real fire even if it chirps on demand.
Can I replace a hardwired smoke detector myself?
Yes — the wiring harness on a hardwired detector is a plug-in connector, not bare wire splicing. As long as you cut power at the breaker first and confirm it’s off with a non-contact voltage tester, the swap itself is straightforward. The most important thing is buying a compatible replacement — if your alarms are interconnected, you need the same brand and interconnect method as the existing units, or the whole system won’t communicate correctly.
Do I need to replace all smoke detectors at once?
Not necessarily — but if they were all installed around the same time, they’re all approaching the same expiration. Replacing them one at a time as they age out is fine as long as you’re tracking the manufacture dates. If you have interconnected hardwired alarms, replacing the entire system with matching units at once is cleaner and guarantees compatibility across all zones.
What is the best smoke detector to buy?
For most homeowners, a sealed 10-year lithium battery detector is the right call. You install it, it runs for a decade without any battery maintenance, and you replace the whole unit at end of life when it starts chirping. For hardwired interconnected systems, stay with the same brand as your existing units unless you’re replacing everything at once. Avoid any unit flagged as non-returnable or marked with a “Frequently Returned Item” warning on the product page.
How many smoke detectors does a house need?
The NFPA minimum is one on every level of the home, one inside every bedroom, and one outside each sleeping area. In a two-story home with three bedrooms that’s at least seven detectors. Many older homes only have hallway units and are significantly under-equipped. While you’re replacing existing detectors, walk the house and check whether you’re meeting the minimum — it’s the right time to add units where they’re missing.
Sources & Further Reading
- Source: NFPA — Smoke Alarms in the Home
- Source: U.S. Fire Administration
- Source: University of Missouri Extension