
Yardtally is reader-supported. Some links on this page are affiliate links. As an Amazon Associate, Yardtally earns from qualifying purchases. See our Affiliate Disclosure.
Knowing how to clean a wood deck is the starting point — but if your deck has been neglected for a season or two, cleaning alone won’t get it back to where it should be. This guide covers the full maintenance sequence: cleaning, crack and board repair, sanding, and restaining or resealing. Each step builds on the last, and skipping any one of them leaves you with a result that won’t last. Plan for a weekend project — day one for cleaning and repairs, day two for sanding and staining once everything is dry.
What’s in This Guide
Step 1 — Inspect and Clear the Deck
Step 2 — How to Clean a Wood Deck
Step 3 — Make Repairs
Step 4 — Sand the Deck
Step 5 — Restain or Reseal
How Often Should You Do This?
What Does It Cost?
Frequently Asked Questions
Step 1 — Inspect and Clear the Deck
Before you touch a cleaner or a sander, walk the entire deck and assess what you’re working with. What you find here determines how much work is ahead.
What to look for
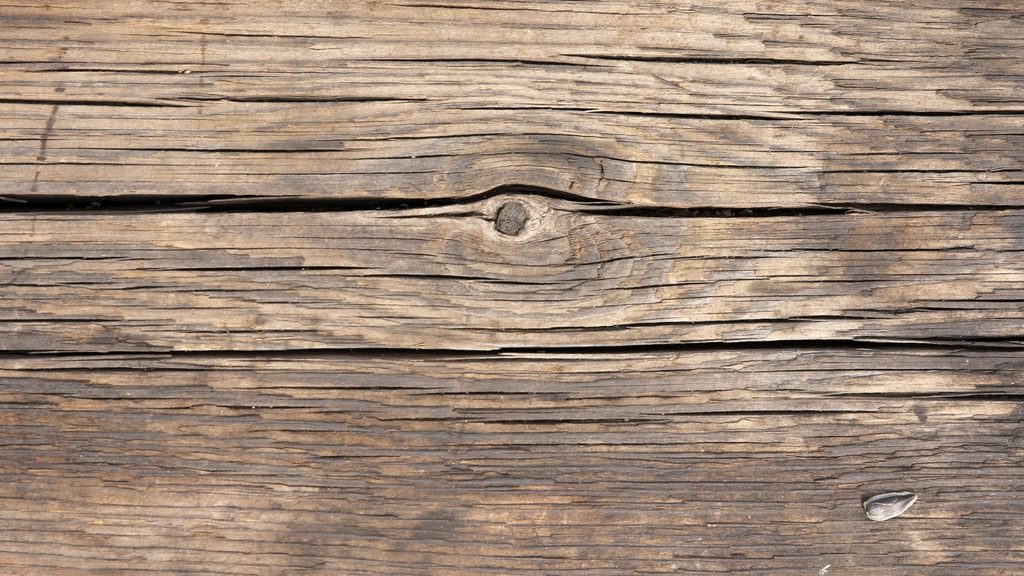
Check for raised or popped nails and screws — re-drive or replace anything that’s come up. Look for cracked, split, or cupped boards. Press on boards that look discolored or soft — if a board feels spongy or compresses under pressure, it has rot and needs to be replaced before anything else happens. Check the ledger board where the deck connects to the house, and look at the post bases at ground level — these are the two spots where deck rot starts first.
Also check the existing finish. If you see paint or solid stain peeling in large sections, that’s a stripping job before cleaning — you’ll need a deck stain stripper to remove the failing coating before the new stain can bond. If the existing finish is just faded or lightly worn but still intact, cleaning and a fresh coat of stain is all you need.
Clear the deck
Move all furniture, planters, and grills off the deck. Sweep thoroughly, then slide a putty knife between the boards to clear compacted debris from the gaps — trapped leaves and dirt in the gaps hold moisture against the wood and are one of the primary drivers of deck rot.
Step 2 — How to Clean a Wood Deck
Should you pressure wash or hand scrub?
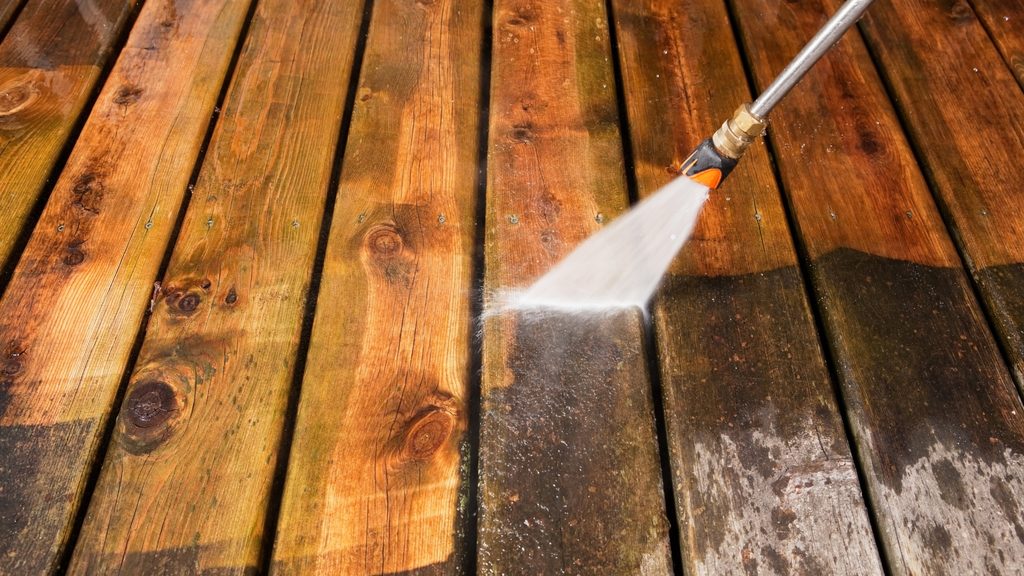
Both work. Pressure washing is faster but damages wood if done wrong — too high a PSI, the wrong nozzle, or holding the wand too close raises wood grain, creates a fuzzy surface texture, and drives water deep into the boards. The safe parameters: 1,200 to 1,500 PSI maximum, 40-degree fan tip only, wand at least 12 inches from the surface, always moving with the grain. Never use a zero-degree or rotary nozzle on wood.
Hand scrubbing takes longer but gives you more control and is the right choice for older decks, soft wood species like pine, or any deck showing existing damage. A floor scrub brush with telescoping handle keeps you off your knees and covers ground efficiently.
Choose your cleaner
Oxygen bleach (sodium percarbonate) is the right choice for most residential decks. It breaks down dirt, mildew, and algae, won’t kill surrounding plants when used as directed, and brightens gray weathered wood as it cleans. Mix two cups per gallon of water and apply with a pump sprayer. For heavy mold or significant graying, a commercial deck cleaner is a step up in strength and worth the extra cost.
Cleaning steps
Pre-wet all plants and grass adjacent to the deck to dilute any cleaner runoff before it reaches roots. Apply cleaner with a pump sprayer, working in sections. Don’t let it dry on the surface — work in the shade or on a cloudy day. Let it dwell 10 to 15 minutes, then scrub with a stiff-bristle brush in the direction of the wood grain — never across it, which raises wood fibers and creates a rough surface that holds moisture. Rinse thoroughly until the water runs clear. Source: USDA Forest Products Laboratory — Finishing of Wood
Mold and mildew
Black or green staining is mold, mildew, or algae — a basic rinse won’t remove it. Apply oxygen bleach at full concentration, let it sit 15 to 20 minutes, and scrub vigorously before rinsing. Heavy mold may need a second application. Let the deck dry completely before assessing — what looks like remaining mold when wet often disappears as the wood dries. After any bleach-based cleaning, apply a deck brightener to neutralize the alkalinity and open the wood grain for better stain absorption.
Step 3 — Make Repairs
Fill cracks and splits in deck boards
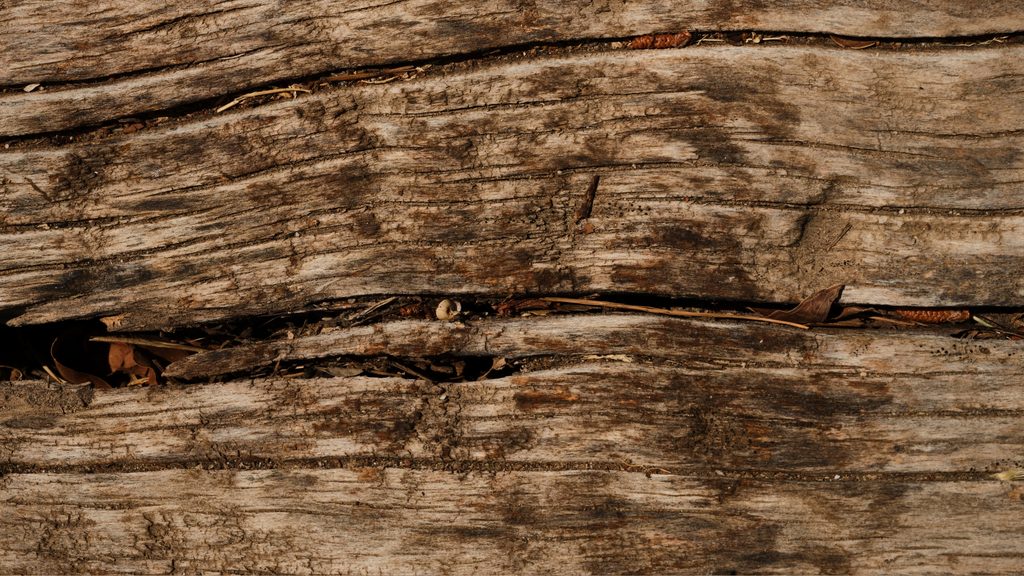
Small surface cracks and checks (the short cracks that run along the grain) are normal in exterior wood and don’t compromise the structural integrity of the board. They can be filled with an exterior wood filler or flexible deck caulk to prevent water from sitting in them. Apply the filler, smooth it flush with the board surface, and let it cure fully before sanding. Don’t use interior wood filler outdoors — it will shrink, crack, and pop out within one season.
For cracks wider than about a quarter inch or cracks that run the full depth of the board, filling isn’t a long-term solution. Those boards should be replaced. A cracked-through board will continue to flex with moisture and temperature changes, which works any filler back out over time.
Replace damaged or rotted boards
Boards with soft spots, significant rot, or structural splits need to come out. Use a pry bar to lift the board carefully — protect adjacent boards with a scrap piece of wood under the pry bar. Pull the old fasteners, inspect the joist beneath for any rot (treat with a wood hardener if the joist is soft but not fully compromised), and cut the new board to length.
Match the new board species to the existing deck as closely as possible — mixing pressure-treated pine with cedar, for example, creates visible contrast that only gets more pronounced over time. Pre-drill the fastener holes on new boards to prevent splitting, and use deck screws rather than nails — screws hold better over time and don’t pop up with seasonal wood movement the way nails do.
Re-drive raised fasteners
Any nails or screws that have worked up above the board surface need to go back down or be replaced with longer screws. A raised fastener is a trip hazard, tears up bare feet in summer, and catches on the sanding belt when you get to that step. Go over the entire deck with a hammer or impact driver before sanding and make sure every fastener is flush or slightly countersunk.
Step 4 — Sand the Deck
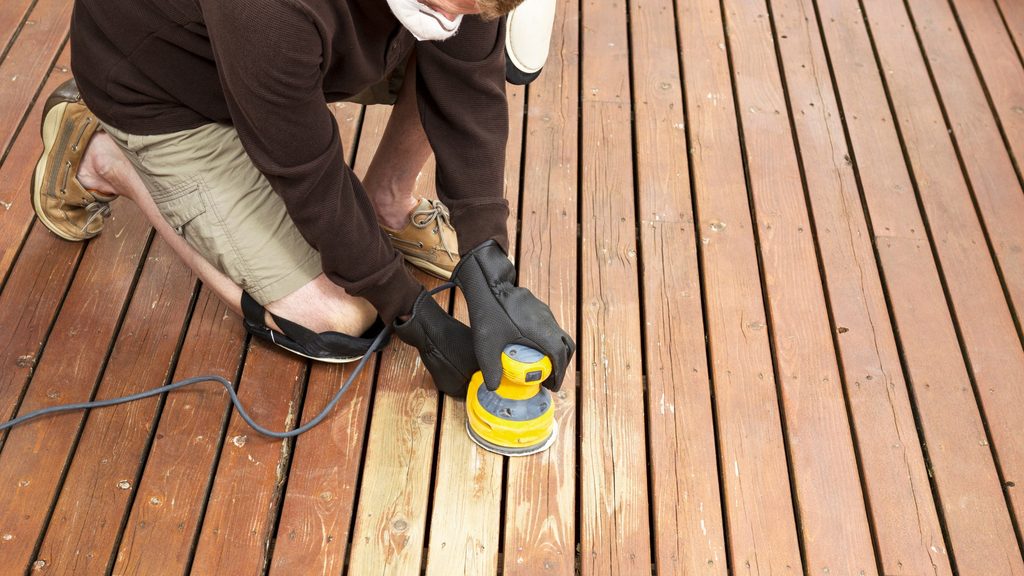
Sanding is the step most homeowners skip — and it’s the one that makes the biggest visible difference in the finished result. Sanding removes the fuzzy raised grain left by cleaning and pressure washing, smooths rough or splintering boards, opens the wood surface for better stain penetration, and gives the whole deck a uniform appearance before the new finish goes on.
What grit to use
Start with 60 or 80 grit to knock down rough spots, raised grain, and any old finish residue. Follow with 100 grit to smooth everything out before staining. You don’t need to go finer than 100 on exterior decking — too fine a finish actually closes the wood grain and reduces stain penetration.
How to sand
For large flat sections, a belt sander or orbital floor sander covers ground fast. For the areas between boards and along railings, a detail sander or hand sanding block is the right tool. Always sand with the grain — never across it. After sanding, sweep and blow off all dust before moving to staining. Dust left on the surface contaminates the stain and creates a rough, uneven finish.
Step 5 — Restain or Reseal
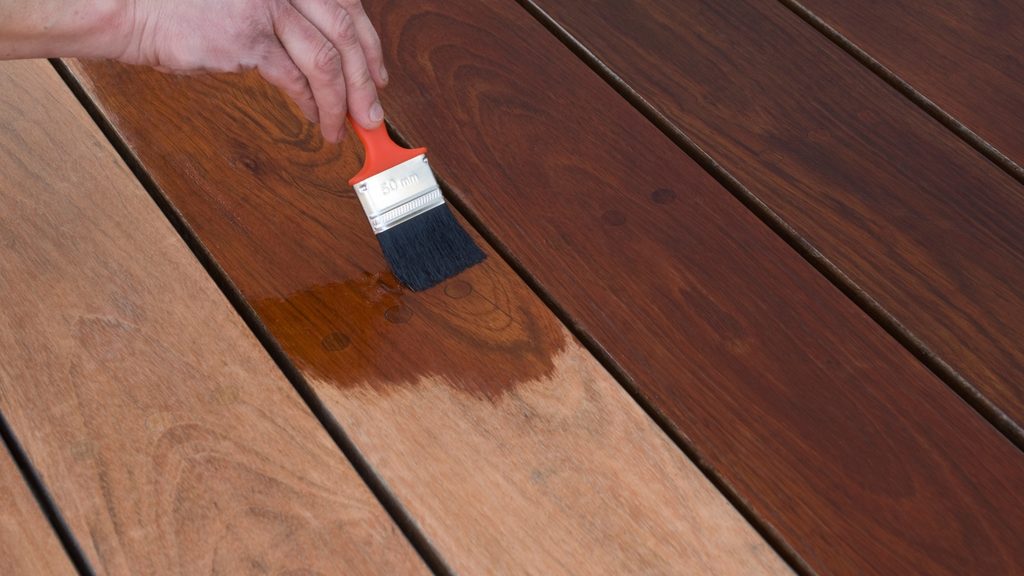
Once the deck is clean, repaired, sanded, and completely dry — at least 48 hours after any moisture — it’s ready for a new coat of stain or sealer. Do the water bead test before you start: spray a small area with a garden hose. If water soaks in within 30 seconds, the wood is ready. If water beads on the surface, wait longer — stain applied to wood that can’t absorb it will sit on the surface, peel early, and leave you redoing the job within a season. Source: Purdue Extension — Selection and Application of Exterior Finishes for Wood
Choose your finish
Semi-transparent stain is the most popular choice for residential decks — it adds color while still showing the grain, provides good UV protection, and lasts two to three years before needing a refresh. Solid stain covers the grain completely, lasts three to five years, and is the right call for older wood where the grain isn’t worth showing. Clear sealer is the lowest-maintenance option but offers the least UV protection and needs reapplication every one to two years.
For a penetrating stain that goes on easily and doesn’t require a separate sealer, the Ready Seal exterior wood stain is a reliable choice — oil-based, penetrating, and forgiving on application. It works with a brush, roller, or sprayer.
Application
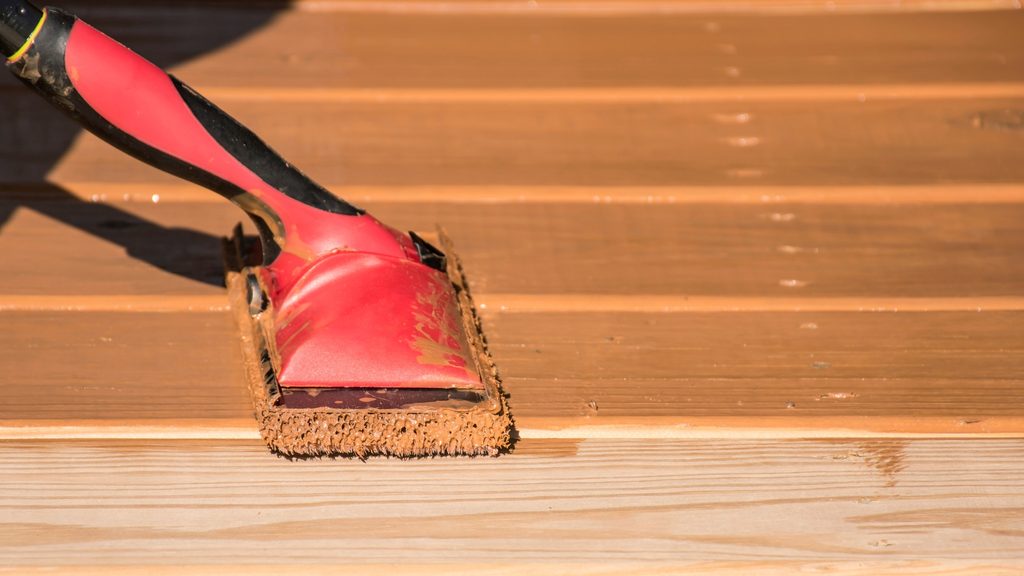
Apply stain in the direction of the wood grain, working in three- to four-board sections from one end of the deck to the other. Maintain a wet edge as you go to avoid lap marks. Two thin coats give better penetration and more even color than one heavy coat — a heavy single coat puddles, drips, and dries uneven. Let the first coat dry to the manufacturer’s recommended recoat time before applying the second.
For the fastest and most even coverage on a large deck, a battery-powered backpack sprayer applies stain quickly with consistent pressure. Back-brush immediately after spraying each section to work the stain into the grain — spraying alone without back-brushing leaves the stain sitting on the surface rather than penetrating the wood.
How Often Should You Do This?
A full clean, repair, and restain cycle every two to three years is the right schedule for most residential decks in Indiana’s climate. The freeze-thaw cycles are harder on deck finishes than climates that stay consistently cold — the repeated expansion and contraction works at the bond between stain and wood faster than in more stable climates.
Between full maintenance cycles: sweep regularly during fall leaf season (leaves sitting on deck boards for weeks trap moisture and accelerate mold growth), re-drive any fasteners that pop up over winter, and do a light cleaning with a garden hose and deck cleaner each spring. Catching minor issues early — a small crack, a slightly raised board, a patch of mildew — is far less work than dealing with what those things become after two more seasons of weather.
What Does It Cost?
DIY materials for a full clean, repair, and restain on a standard 400-square-foot deck run $150 to $350 depending on how much stain you need and whether any boards require replacement. The big variables are stain (plan on two gallons per 200 square feet on weathered wood) and any lumber for board replacement.
Hiring a professional deck restoration company runs $500 to $1,500 for a deck of that size, depending on condition and whether the existing finish needs stripping. For a deck in reasonable condition that just needs the annual maintenance cycle, this is a two-day DIY project well within reach of most homeowners.
Frequently Asked Questions About How to Clean a Wood Deck
How often should you clean and restain a wood deck?
A full clean and restain cycle every two to three years is the right schedule for most residential decks. In Indiana’s climate — with significant freeze-thaw cycles — you’ll be on the shorter end of that range. Between full maintenance cycles, sweep the deck regularly during fall leaf season and do a light cleaning each spring. Catching small issues early costs far less time and money than dealing with what they become after two more seasons of weather.
Can you pressure wash a wood deck?
Yes, but technique matters. Keep the PSI between 1,200 and 1,500, use a 40-degree fan tip only, and keep the wand at least 12 inches from the surface, always moving with the grain. Never use a zero-degree or rotary nozzle on wood — it will gouge the boards. If your deck is older, made of a soft wood species like pine, or already shows damage, hand scrubbing gives you more control and is the safer choice.
What is the best cleaner for a wood deck?
Oxygen bleach (sodium percarbonate) is the go-to for most residential decks. It breaks down dirt, mildew, and algae, is safer around plants than chlorine bleach, and brightens gray weathered wood as it cleans. Mix two cups per gallon of water and apply with a pump sprayer. For heavy mold or significant graying, step up to a commercial deck cleaner — the homemade soap-and-water solution won’t cut it on serious buildup.
Do you need to sand a deck before restaining?
Yes — and it’s the step most homeowners skip. Sanding removes the fuzzy raised grain left by cleaning and pressure washing, smooths rough or splintering boards, and opens the wood surface so stain penetrates evenly rather than sitting on top. Start with 60 or 80 grit to knock down rough spots, follow with 100 grit to smooth everything out. Don’t go finer than 100 — too fine a finish closes the grain and reduces stain absorption.
How do you know when a deck board needs to be replaced versus filled?
Press on any board that looks soft or discolored. If it compresses under pressure or feels spongy, it has rot and needs to be replaced — no filler will hold in compromised wood. Small surface cracks that run along the grain can be filled with exterior wood filler and sanded flush. Cracks wider than a quarter inch or cracks that run the full depth of the board are replacement candidates — the board will continue flexing with seasonal moisture changes and work any filler back out over time.