

Yardtally is reader-supported. Some links on this page are affiliate links. As an Amazon Associate, Yardtally earns from qualifying purchases. See our Affiliate Disclosure.
Adding outdoor lighting on a budget is easier than most people think — because the best options don’t require an electrician, a permit, or trenching wire through your yard. I’ve lit up my front walkway, back patio, and garden beds for under $200 total, and none of it involved touching a single circuit breaker. This guide covers the three approaches that actually work for DIY homeowners — solar, string lights, and low-voltage — what each one costs, where each one makes sense, and how to install them.
WHAT’S IN THIS GUIDE
- Which Type of Lighting Is Right for You?
- Solar Lights: The No-Wire Option
- String Lights: The Fastest Win
- Low-Voltage Landscape Lighting
- Plan Your Layout Before You Buy
- Tips for Outdoor Lighting on a Budget
- Frequently Asked Questions
Which Type of Lighting Is Right for You?
Before you buy anything, match the lighting type to the job. Each option has a specific situation where it wins — and a situation where it falls flat.
Solar lights are the right choice when you don’t have an outdoor outlet nearby or you want zero wiring. They work best in areas that get at least 6 hours of direct sun per day. They’re the easiest to install — stake them in the ground and walk away — but they’re also the dimmest option and the least reliable in cloudy stretches or winter.
String lights are the right choice for patios, pergolas, decks, and covered spaces where you want ambiance rather than task lighting. They need a nearby outdoor outlet or an outdoor extension cord. They’re inexpensive, go up fast, and have the biggest visual impact per dollar spent.
Low-voltage landscape lighting (12V) is the right choice when you want reliable, controlled lighting that looks polished — path lights, spotlights on trees or the house, or step lighting. It requires a low-voltage transformer plugged into an outdoor outlet and some cable buried a few inches deep, but it’s fully DIY-legal because 12V doesn’t require a permit or an electrician. Source: LawnStarter — Landscape Lighting Cost Guide
Solar Lights: The No-Wire Option
Solar lights are where I started. I put eight pathway lights along my front walk for about $40 total, and they’ve been working for two seasons without a single battery change or wiring hassle. The key is buying ones with a separate solar panel — the integrated-panel models that sit flat on top of the fixture don’t collect enough sun to last more than a couple of hours after dark.
What to look for: IP65 or IP68 weatherproofing rating, at least 8 LEDs per fixture, and a warm white color temperature (2700K–3000K) rather than the harsh blue-white that cheap solar lights emit. Warm white looks more natural against landscaping and won’t irritate your neighbors.
What solar lights can’t do: they won’t give you the brightness to light a driveway or illuminate a large tree. They also lose performance in November through February in Indiana — shorter days mean less charge time. For those applications, low-voltage is the better call. A good set of solar pathway lights runs $30–$60 for a pack of 8–12 and covers a standard front walkway. Solar is one of the most accessible ways to start outdoor lighting on a budget, but it works best when you match the fixture to the job.
How to Install Solar Lights
Most outdoor lighting on a budget mistakes happen because people skip the planning step entirely. Installation is as simple as it gets. Choose your spot, push the stake into the ground, and adjust the solar panel angle toward the south if it’s on a separate arm. Space pathway lights 6–8 feet apart for a clean look — closer together looks cluttered, further apart leaves dark gaps.
One thing most people skip: give them a full day of sun before the first night. Solar lights ship with partially discharged batteries and the first night’s performance isn’t representative of what they’ll actually do once fully charged.
String Lights: The Fastest Win
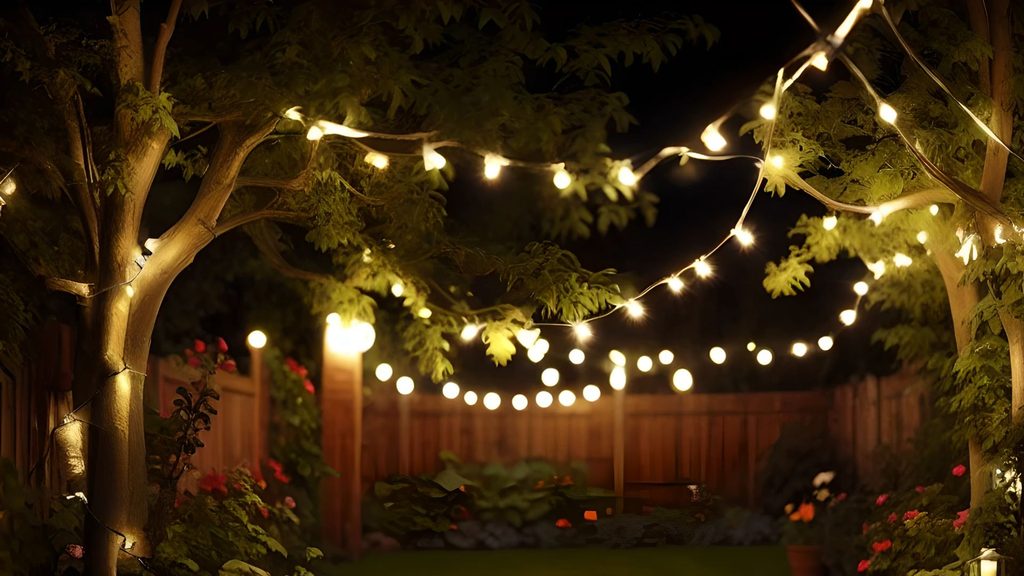
String lights are the highest-impact, lowest-effort outdoor lighting upgrade you can make. I strung a 48-foot set of Edison-style bulbs across my back patio in about 20 minutes — two eye hooks in the fence posts, one in the soffit, and done. The transformation from bare patio to something that looks intentional is immediate. For most homeowners, string lights are where outdoor lighting on a budget delivers the biggest visual return for the least money spent.
For outdoor use, you need lights rated for outdoor or all-weather use. Indoor string lights are not weatherproof and will fail within a season outside. The Edison-style bulb sets with individual replaceable G40 bulbs are the best value — when a bulb burns out you replace just that one instead of the whole string. A 48-foot set of outdoor string lights typically runs $25–$45 and covers most standard patio spaces.
How to Hang Outdoor String Lights
The cleanest method is a combination of eye hooks and a guide wire. Screw outdoor eye hooks into your fence posts, deck posts, or soffit, then run a thin stainless guide wire between them as a support line. Drape the string lights over the guide wire. This keeps the lights from sagging in the middle and puts the weight on the wire rather than the string light cord itself, which extends the life of the strand significantly.
If you don’t have a nearby outdoor outlet, a weatherproof outdoor extension cord run along a fence or wall is the simplest solution. Zip tie it every few feet so it doesn’t hang loose.
Low-Voltage Landscape Lighting
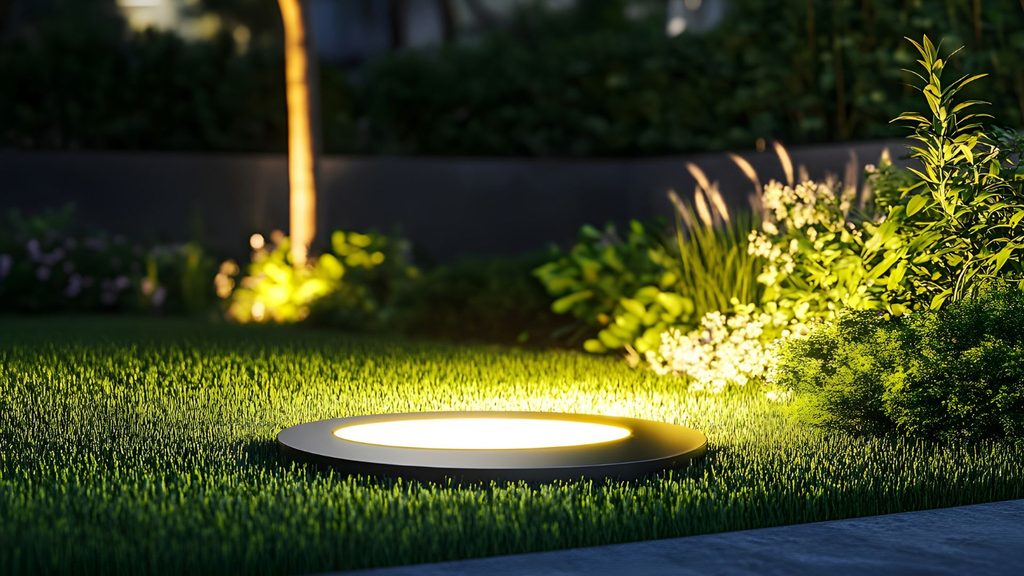
Low-voltage lighting is the step up from solar — more reliable, brighter, and more controllable. The full system has three components: a transformer that plugs into your outdoor outlet, low-voltage cable that runs along the ground, and the fixtures themselves. The transformer converts your 120V household current down to 12V, which is why no permit or electrician is needed. Outdoor lighting on a budget doesn’t mean sacrificing reliability — a low-voltage system gives you the most polished result for the least long-term cost.
A starter kit with a transformer and 6–8 path lights runs $80–$150 and covers a typical front walkway or garden border. Expanding the system later is easy — add more fixtures and more cable, as long as you don’t exceed the transformer’s wattage rating. Buy a transformer rated for at least twice your current wattage so you have room to expand without replacing it. Source: Birkdale Sales — Solar vs Low Voltage Garden Lighting
A complete low-voltage landscape lighting kit is the most cost-effective way to start — kits include the transformer, cable, and fixtures so you’re not buying components separately.
How to Install Low-Voltage Landscape Lighting
Start by plugging the transformer into your outdoor outlet and mounting it to the wall near the outlet — most transformers have a built-in bracket. Run the low-voltage cable from the transformer along the ground to your fixture locations. You don’t need to bury it deep — 3 inches is enough to keep it below the lawn surface and out of the way of foot traffic.
Connect each fixture to the cable using the quick-connect clips that come with the kit — no wire stripping required. Most modern low-voltage landscape light kits use a simple snap-connector that pierces the cable insulation. Space path lights 8–10 feet apart along a walkway, or position spotlights 2–3 feet from the base of whatever you’re illuminating.
Set the transformer timer to turn lights on at dusk and off at midnight or whenever you want — most transformers have a built-in timer with a simple dial. That’s the whole install.
Plan Your Layout Before You Buy
Outdoor lighting on a budget works best when you plan your zones before buying anything.The most common mistake with outdoor lighting is buying fixtures first and planning second. Walk your yard at night with your phone flashlight before you buy anything. Notice where it’s actually dark, where you trip or stumble, and where a light would make you feel safer or make the yard look better. Mark those spots.
Then assign a lighting type to each zone. Pathways and garden borders: solar or low-voltage path lights. Patio or deck: string lights. Focal points like trees, architectural features, or large shrubs: low-voltage spotlights. Front door or garage area where you need bright, reliable light: low-voltage or a hardwired motion sensor if you have an existing fixture box.
Doing this before you shop saves you from buying the wrong product and returning it, or ending up with a mismatched system that you redo the following year.
Tips for Outdoor Lighting on a Budget
Every tip in this section comes back to the same idea: outdoor lighting on a budget rewards planning over impulse buying. Buy in kits, not individually. A 10-pack of solar path lights costs less per fixture than buying five separate ones. Same with low-voltage kits — the transformer, cable, and fixtures bundled together cost significantly less than buying components separately.
Start with one zone. Lighting your entire yard at once is expensive and easy to get wrong. Start with the front walkway or the back patio — whichever gives you the most daily benefit — and expand from there once you know what works.
Use warm white LEDs everywhere. 2700K–3000K bulbs look natural against landscaping and wood. Anything cooler (4000K+) looks harsh and clinical in a residential yard. Sticking to one color temperature across all your lighting also makes everything look more cohesive even if you’re mixing fixture types.
Don’t over-light. More lights is not always better. A few well-placed fixtures look intentional. Lights every two feet look like an airport runway. Less is more — especially with string lights and solar pathway lights. Source: LawnStarter — Pros and Cons of Solar Landscape Lights
Frequently Asked Questions About Outdoor Lighting on a Budget
Can I install outdoor lighting without an electrician?
Yes — for solar lights, string lights, and low-voltage (12V) landscape lighting, no electrician or permit is required. All three options are fully DIY. The only time you need an electrician is if you’re installing hardwired fixtures that connect to your home’s 120V electrical system — adding a new outdoor outlet, for example, or installing a hardwired motion sensor light where no fixture box exists.
What is the cheapest outdoor lighting on a budget?
Solar pathway lights are the cheapest upfront — a pack of 8–12 runs $30–$60 with no ongoing electricity cost. String lights are the cheapest per square foot of coverage for patio spaces, typically $25–$45 for a 48-foot strand. Low-voltage kits cost more upfront ($80–$150 for a starter kit) but give you more reliable, brighter light with longer fixture lifespans.
How long do solar landscape lights last?
The fixtures themselves typically last 3–5 years. The rechargeable batteries inside are usually the first thing to fail — most can be replaced for a few dollars per light. Cheap solar lights from dollar stores or discount bins tend to fail within a season. Spending $30–$60 on a quality set from a reputable brand gets you 3–5 years of reliable performance.
Do outdoor string lights use a lot of electricity?
LED string lights use very little electricity — a 48-foot strand with 15 LED bulbs draws about 5–7 watts. Running it 6 hours a night costs roughly $0.01–$0.02 per night, or about $4–$6 per year. Even running multiple strands, the electricity cost is negligible.
How far apart should outdoor path lights be spaced?
For solar and low-voltage path lights along a walkway, 6–10 feet apart is the standard spacing. Closer than 6 feet looks cluttered; further than 10 feet leaves dark gaps between pools of light. For a 40-foot walkway, 5–6 lights spaced evenly gives the cleanest result.
What’s the difference between solar and low-voltage landscape lighting?
Solar lights run on rechargeable batteries charged by sunlight — no wiring or electricity cost, but performance depends on sun exposure and they’re dimmer than wired options. Low-voltage landscape lighting runs on 12V power from a transformer plugged into an outdoor outlet — more reliable, brighter, and controllable with a timer, but requires some cable installation and an accessible outdoor outlet.