

Yardtally is reader-supported. Some links on this page are affiliate links. As an Amazon Associate, Yardtally earns from qualifying purchases. See our Affiliate Disclosure.
Knowing how to clean a dryer vent is one of those home maintenance tasks that most people put off until something goes wrong. I put it off too — until I noticed my dryer was taking two full cycles to dry a load of towels and the exhaust outside was barely moving. That’s the slow warning. The fast warning is a house fire. The U.S. Fire Administration reports that dryers cause roughly 2,900 home fires every year, and failure to clean the dryer vent is the leading cause. This guide covers the warning signs, the full cleaning process from both ends, and the one duct material issue that most people don’t know about until it’s too late.
What’s in This Guide
- Warning Signs Your Dryer Vent Needs Cleaning
- Check Your Duct Material First
- What You’ll Need
- How to Clean a Dryer Vent: Step by Step
- How Often Should You Clean a Dryer Vent?
- When to Call a Professional
- Frequently Asked Questions
Warning Signs Your Dryer Vent Needs Cleaning
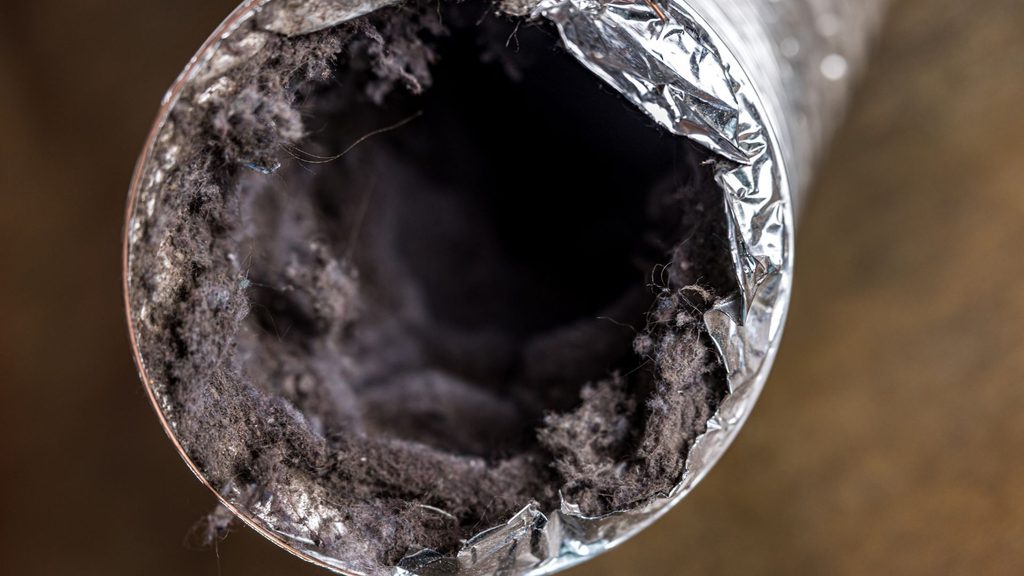
You don’t need to wait for annual cleaning time to know the vent is getting blocked. These are the signs to watch for:
Clothes taking longer than one cycle to dry — especially thick items like towels and jeans — is the most common early warning. A blocked vent can’t exhaust hot, moist air efficiently, so the dryer has to run longer to do the same job. If you’re running two cycles where one used to work, clean the vent before you do anything else.
The dryer or clothes feel unusually hot at the end of a cycle. A blocked vent traps heat that should be exhausted outside. That heat buildup is hard on the dryer’s components and on anything in the drum.
You can smell something burning. Lint is highly flammable. If it’s building up inside the duct and the dryer is overheating, you may smell it before you see any problem. This is the stop-what-you’re-doing warning — don’t run the dryer again until the vent is cleaned.
The exterior vent flap isn’t opening when the dryer runs, or you can see lint around the outside vent cover. If airflow is so restricted that the flap won’t open, the blockage is significant. Source: U.S. Fire Administration — Appliance and Electrical Fire Safety
Check Your Duct Material First
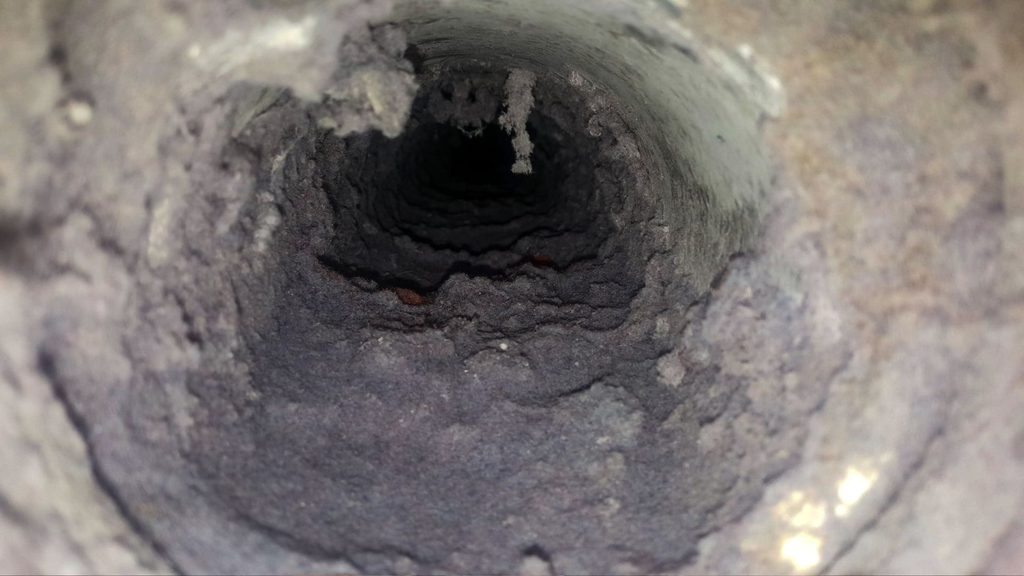
Before you clean anything, go behind the dryer and look at what’s connecting it to the wall. This is the step most dryer vent guides skip, and it’s important.
Plastic or vinyl flexible duct — the white or clear ribbed hose — is a fire hazard and should be replaced. It restricts airflow because of its accordion shape, and it can catch fire if the dryer overheats. Many building codes no longer allow it for dryer installations.
Foil flexible duct (the silver accordion hose) is better than plastic but still not ideal — it can kink, compress, and accumulate lint in the ridges.
Rigid or semi-rigid metal duct is the right material. It has smooth interior walls that don’t trap lint, maintains consistent airflow, and won’t burn. If you have plastic or vinyl duct, replace it with rigid metal before continuing. The cleaning process is the same either way, but you’re adding a fire risk back every time you reconnect a plastic duct. Source: CPSC — Overheated Clothes Dryers Can Cause Fires
What You’ll Need
A dryer vent cleaning kit — a flexible rod brush system that extends to reach through the full length of the duct — is the right tool for this job. A vacuum alone won’t reach deep enough on most installations. The dryer vent cleaning kit handles both the inside and outside cleaning in one pass.
You’ll also need a shop vac or vacuum with a hose attachment, a screwdriver (flathead or Phillips depending on your clamp type), and work gloves. If you have a gas dryer, know where the gas shutoff valve is before you start — you’ll need to close it if you’re moving the dryer away from the wall.
How to Clean a Dryer Vent: Step by Step
Step 1 — Cut power and disconnect
Unplug the dryer. If it’s a gas dryer, close the gas shutoff valve on the supply line behind the dryer — it’s the small handle on the pipe that runs from the wall. Don’t skip this step on a gas dryer. Pull the dryer away from the wall — about a foot to two feet of clearance is enough. Put down a drop cloth or old sheet on the floor behind the dryer to catch the lint that’s about to come out.
Step 2 — Disconnect the duct from the dryer
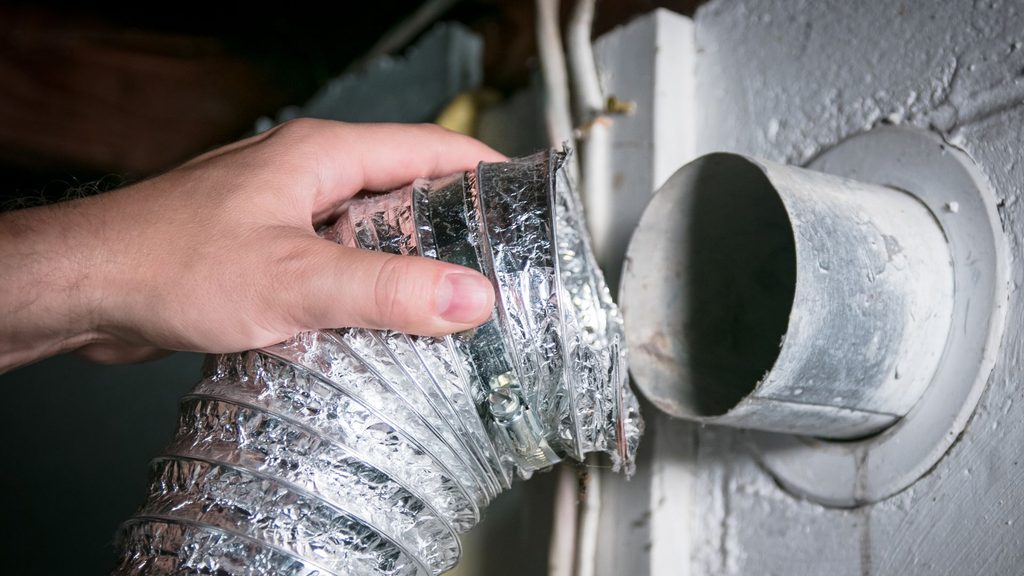
The duct connects to a 4-inch exhaust port on the back of the dryer, usually held by a worm drive clamp or a piece of metal foil tape. Loosen the clamp with a screwdriver or peel back the tape, and slide the duct off the exhaust port. Some connections are looser than others — the duct may simply pull off with light pressure.
Step 3 — Vacuum the dryer exhaust port and behind the dryer
Use the hose attachment of your shop vac to clear the exhaust port on the back of the dryer and the area immediately behind it. There’s usually a significant amount of lint right there that never made it into the duct. Don’t skip this step — that accumulated lint right at the source is the most likely place for a fire to start.
Step 4 — Run the brush kit through from the dryer end
Connect the first rod segment of the brush kit and insert it into the duct opening at the wall. Spin the brush clockwise as you push it in — this is what loosens lint from the duct walls rather than just pushing it further in. Add rod segments as you go until the brush reaches the full length of the duct. Pull back slowly while continuing to spin, bringing loosened lint with it.
For long or winding duct runs, this takes a few passes. You’ll see lint coming out onto the drop cloth — that’s what you want. Keep going until the brush comes out clean.
Step 5 — Clean from the outside
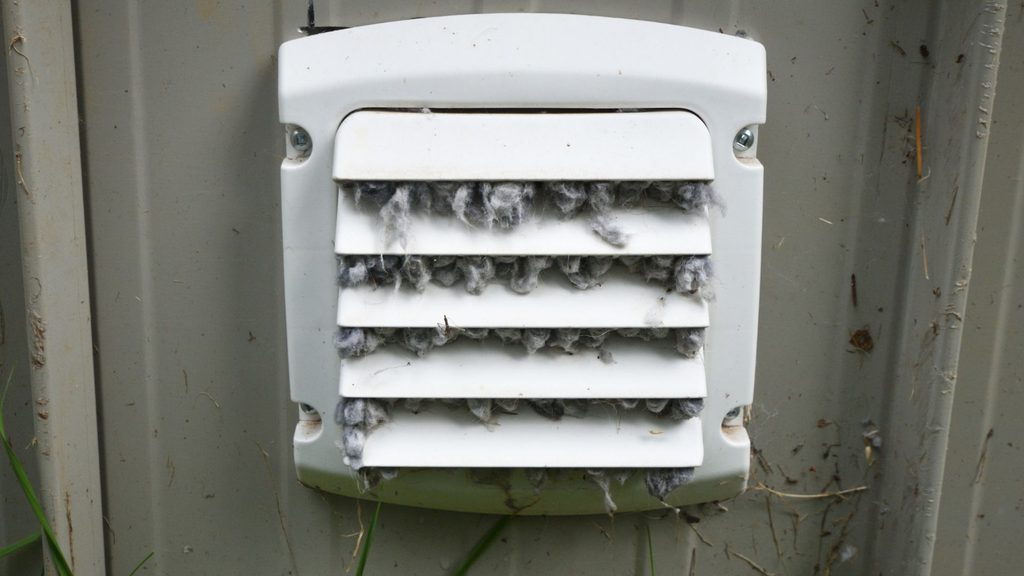
Go outside and find the dryer vent cover on the exterior of the house. It’s usually on an exterior wall or sometimes on the roof. Remove the cover — most snap off or have two screws holding them in place. Insert the brush kit from this end and repeat the process, spinning clockwise while pushing in. This pushes any remaining lint back toward the dryer end where you can vacuum it up, and it cleans the section of duct closest to the outside that the inside brush may not have fully reached.
While you’re outside, check that the vent flap opens and closes freely. Lint and pest debris commonly accumulate here and prevent the flap from opening when the dryer runs. Clean it out by hand or with the brush, and replace the cover when done.
Step 6 — Vacuum the duct interior
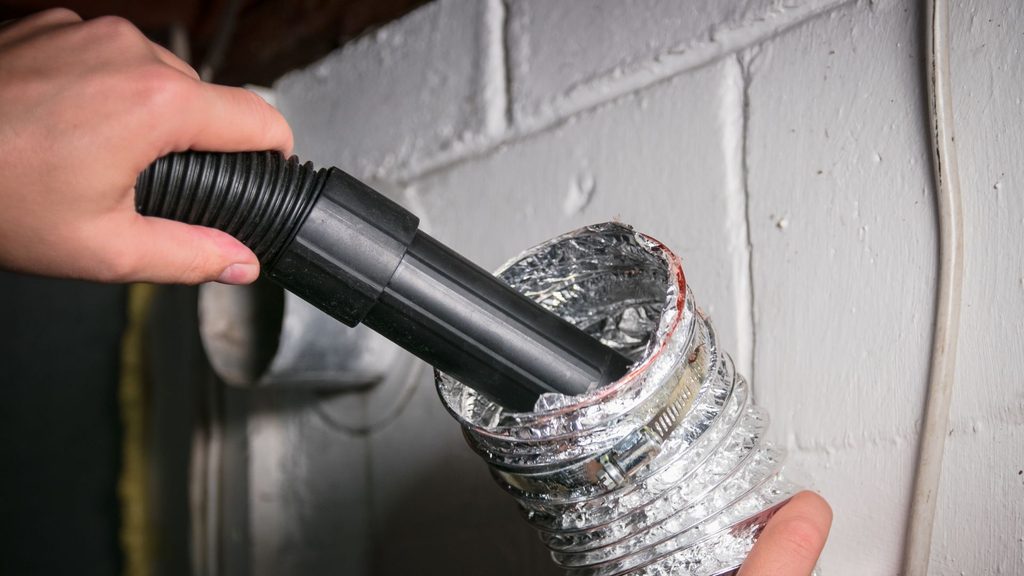
Back inside, insert the shop vac hose as far into the duct as it will reach and vacuum out the loosened lint. Then vacuum the floor and the area behind the dryer — lint that came out of the duct during brushing ends up on the floor and you don’t want to leave it there.
Step 7 — Reconnect and test
Slide the duct back onto the dryer exhaust port and secure it with the clamp or fresh metal foil tape. Don’t use plastic tape — it doesn’t hold up to heat. Slide the dryer back into position. Plug it in (and reopen the gas valve on a gas dryer). Run the dryer on air fluff or low heat for 10 to 15 minutes and go outside to confirm air is moving freely from the exterior vent. The flap should be visibly open and you should be able to feel strong airflow from several feet away.
How Often Should You Clean a Dryer Vent?
Once a year is the standard recommendation for a household doing a normal volume of laundry. If you have a large family and run the dryer daily, every six months is more appropriate. If you dry a lot of pet bedding, towels, or heavy items, lint accumulates faster and you may need to clean more frequently.
The annual schedule assumes a reasonably short vent run — under 10 feet with one or two elbows. Longer runs and more bends accumulate lint faster and may need more frequent attention. If you’re not sure how long your vent run is, go outside and measure from the exterior vent cover back toward the laundry room as best you can — most residential installations run 5 to 15 feet.
When to Call a Professional
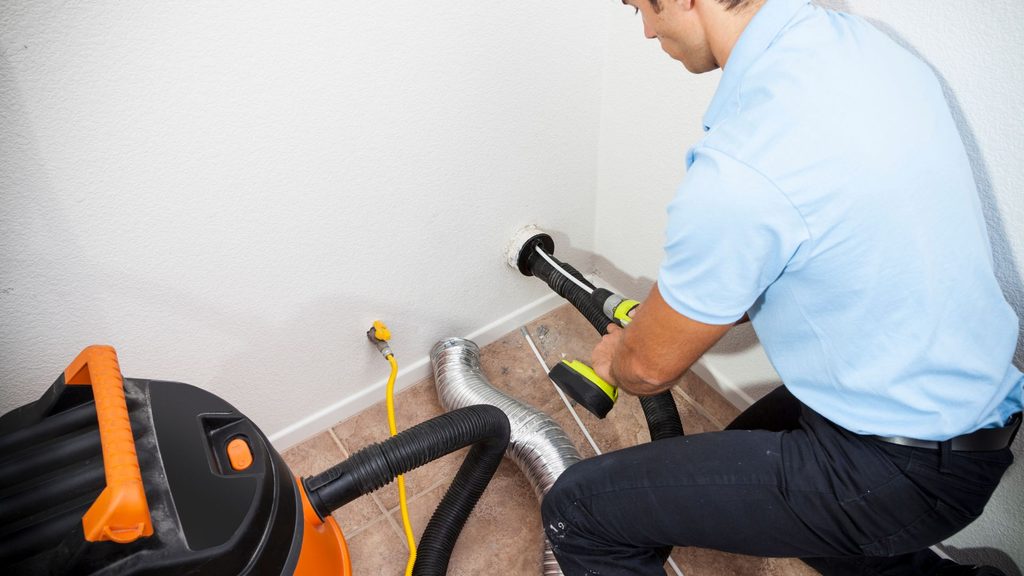
Hire a professional dryer vent cleaning service if the duct runs through the attic or roof (these are difficult and potentially dangerous to access yourself), if the run is very long and winding and you can’t get the brush through the full length, or if you find a disconnected section of duct inside the wall during cleaning. A disconnected duct is exhausting lint directly into your wall cavity — that needs to be fixed before you run the dryer again.
Professional dryer vent cleaning typically runs $100 to $175 for a standard residential installation. For a duct that runs through the attic or has multiple turns, it may run higher. The cost is significantly less than a dryer replacement — and far less than fire damage.
Frequently Asked Questions About How to Clean a Dryer Vent
How do I know if my dryer vent is clogged?
The most reliable early warning is clothes taking longer than one cycle to dry — especially thick items like towels and jeans. Other signs include the dryer or clothes feeling unusually hot at the end of a cycle, a burning smell during operation, and the exterior vent flap not opening when the dryer is running. If you notice any of these, don’t run the dryer again until you’ve cleaned the vent. A burning smell in particular means stop immediately — lint is highly flammable and an overheating dryer can ignite it.
Can I clean a dryer vent myself?
Yes — for most residential installations, cleaning a dryer vent is a manageable DIY job. You need a dryer vent cleaning brush kit with flexible rod extensions, a shop vac, and a screwdriver. The full process takes about 30 to 45 minutes. Where it becomes a professional job is when the duct runs through the attic or roof, the run is very long with multiple turns you can’t get the brush through, or you find a disconnected section of duct inside the wall during cleaning.
How often should a dryer vent be cleaned?
Once a year for most households doing a normal volume of laundry. If you have a large family running the dryer daily, every six months. If you dry a lot of pet bedding, towels, or heavy items, lint accumulates faster and more frequent cleaning may be needed. The annual schedule assumes a duct run under 10 feet with one or two elbows — longer or more complex runs accumulate lint faster.
What is the best material for a dryer vent duct?
Rigid metal duct is the right material. It has smooth interior walls that don’t trap lint, maintains consistent airflow, and won’t burn if the dryer overheats. Semi-rigid corrugated metal is acceptable but not as good as rigid. Plastic or vinyl flexible duct — the white or clear ribbed hose — should be replaced. It restricts airflow, traps lint in the ridges, and can catch fire. Many building codes no longer allow plastic duct for dryer installations. If you have it, replacing it with rigid metal before your next cleaning is the right move.
Can a clogged dryer vent cause a fire?
Yes — and it’s one of the leading causes of residential house fires. Lint is highly flammable, and when it accumulates in the duct and the dryer overheats due to restricted airflow, the conditions for a fire exist. The U.S. Fire Administration and CPSC both identify failure to clean the dryer vent as the primary contributing factor in clothes dryer fires. Annual cleaning isn’t a nice-to-have — it’s a safety requirement.