
Yardtally is reader-supported. Some links on this page are affiliate links. As an Amazon Associate, Yardtally earns from qualifying purchases. See our Affiliate Disclosure.
Learning how to start a compost pile is one of those things that looks complicated until you understand the two ingredients everything comes down to: browns and greens. Get that ratio roughly right, keep the pile moist, give it air, and decomposition handles the rest. I’ve been researching this before starting my own pile, and the consistent advice from extension services and experienced composters is the same everywhere — the method is simple, the mistakes are predictable, and almost all of them are easy to fix.
This guide covers the full process — location, size, what to add, what to keep out, how to layer it, and how to maintain it once it’s going. No complicated systems, no expensive equipment required.
What’s in This Guide
- Step 1 — Choose the Right Location for Your Compost Pile
- Step 2 — Decide on Size and Containment
- Step 3 — Understand Browns and Greens
- Step 4 — Build the Pile in Layers
- Step 5 — Maintain the Right Moisture and Aeration
- Step 6 — Speed It Up (Optional)
- How to Know When It’s Ready
- How to Use Finished Compost
- FAQ
Step 1 — Choose the Right Location for Your Compost Pile
Pick a spot that’s flat, drains well, and gets partial sun. Full shade slows decomposition because the pile never heats up properly. Full sun dries it out too fast and requires constant watering to keep the moisture level right. Partial sun — a few hours of direct light with shade in the afternoon — is the sweet spot.
Keep the pile at least 10 feet from your house foundation. Compost piles attract insects and occasional wildlife, and proximity to the house creates more problems than it solves. A back corner of the yard near the garden is ideal — close enough to add kitchen scraps easily, far enough from the house to not be a nuisance.
Make sure there’s room to work around the pile. You’ll need space to turn it with a pitchfork every couple of weeks, which means access from at least one side with room to move material.
Step 2 — Decide on Size and Containment
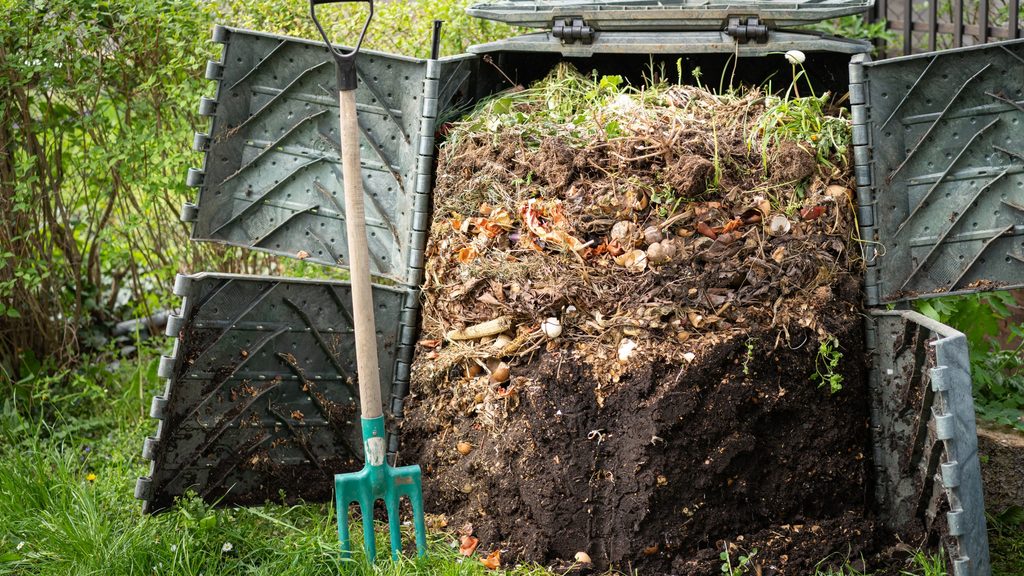
A compost pile needs to be at least 3 feet by 3 feet by 3 feet to generate the internal heat that accelerates decomposition. Smaller than that and the pile won’t insulate itself — it’ll break down eventually, but slowly and without the heat that kills weed seeds and pathogens. Larger than about 5 feet in any dimension and it becomes hard to turn and aerate properly.
You have two options for containment: an open pile or a bin. An open pile works fine and costs nothing — just build the layered pile directly on bare soil. The downside is appearance and wildlife access. An enclosed bin looks tidier, keeps pests out more effectively, and retains moisture better, especially in dry climates.
A compost tumbler is the most efficient bin option for a home composter. It sits off the ground (which deters rodents), spins to aerate and turn the pile without a pitchfork, and produces finished compost faster than a static open pile. If you’re starting from scratch and want the lowest-maintenance setup, a tumbler is worth the investment.
Step 3 — Understand Browns and Greens
Every compost ingredient falls into one of two categories — browns (carbon-rich) or greens (nitrogen-rich). Both are essential. Browns give microorganisms the energy they need. Greens give them the nitrogen they need to reproduce and drive decomposition. Get the balance right and the pile heats up, shrinks, and transforms. Get it wrong and you get a slow, cold pile or a smelly wet mess.
Browns (Carbon-Rich — Add More of These)
Dry leaves, cardboard (torn into pieces), shredded newspaper, straw, wood chips, paper bags, paper egg cartons, dry corn stalks, small twigs. These are your bulk material. The pile should feel like it’s mostly browns with greens layered in — not the other way around.
Greens (Nitrogen-Rich — Use in Moderation)
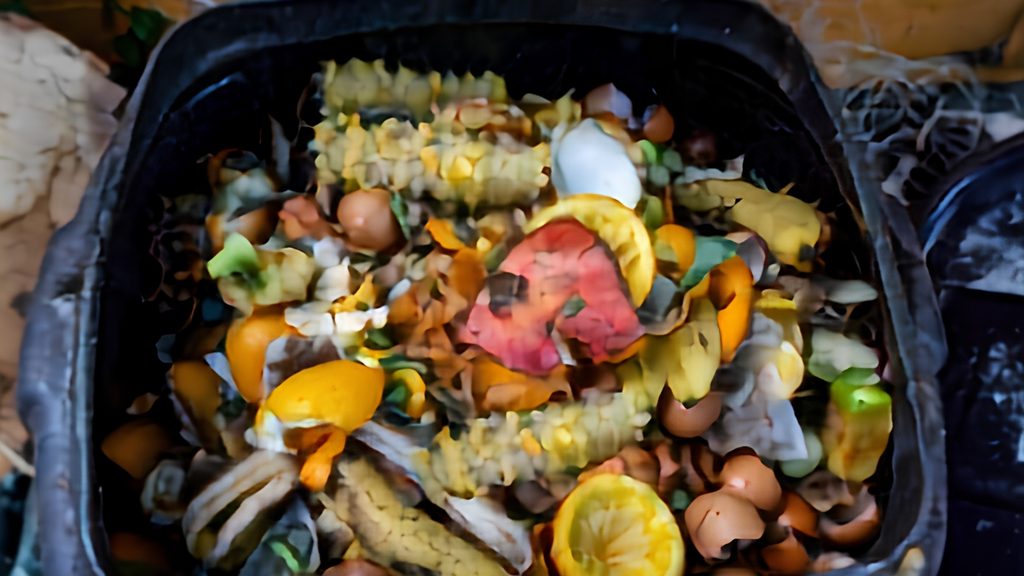
Vegetable and fruit scraps, coffee grounds and filters, tea bags, fresh grass clippings, plant trimmings, eggshells. These are what most people think of as “compost material” — but too many greens without enough browns creates a slimy, smelly pile that attracts pests.
What to Keep Out
Meat, fish, bones, dairy, oils, and fats — these attract rodents and create persistent odors. Diseased plants — pathogens can survive in a pile that doesn’t get hot enough. Pet waste — contains harmful bacteria. Treated wood products. Weeds that have gone to seed — unless your pile gets hot enough (130°F+) to kill the seeds, you’ll spread weeds when you use the compost.
Step 4 — Build the Pile in Layers
Building in layers — rather than dumping everything in at once — creates the right conditions for decomposition from the start. Here’s the sequence:
Start with a 3 to 4 inch base layer of coarse browns — small twigs, wood chips, or straw. This creates airflow at the bottom of the pile and prevents the base from becoming waterlogged.
Add a 2 to 3 inch layer of greens — kitchen scraps, fresh clippings, or coffee grounds. Spread them evenly rather than clumping them in one spot.
Cover with a 4 to 6 inch layer of browns — dry leaves or shredded cardboard work well here. The browns cap the greens and control odor.
Lightly water each layer as you build so the pile starts moist rather than dry. The target moisture level is a wrung-out sponge — wet enough to feel damp when you squeeze a handful, not so wet that water drips out.
Repeat the layers — greens, then browns, then water — until the pile reaches at least 3 feet tall. The pile will shrink significantly as decomposition begins, so building it taller than 3 feet at the start is fine.
Step 5 — Maintain the Right Moisture and Aeration
Two things keep a compost pile working: moisture and oxygen. Let either one lapse and decomposition slows or stops.
Moisture
Check the pile every week or two by grabbing a handful from the center. It should feel like a damp sponge. If it’s dry, water it thoroughly. If it’s soggy and smells bad, add a thick layer of dry browns — shredded cardboard or dry leaves — and turn the pile to introduce air.
Turning
Turn the pile every 10 to 14 days using a pitchfork or garden fork. This does two things: it introduces oxygen that aerobic bacteria need to keep decomposition running, and it moves cooler outer material into the hot center where decomposition is most active. A pile that’s never turned will still decompose — just much more slowly.
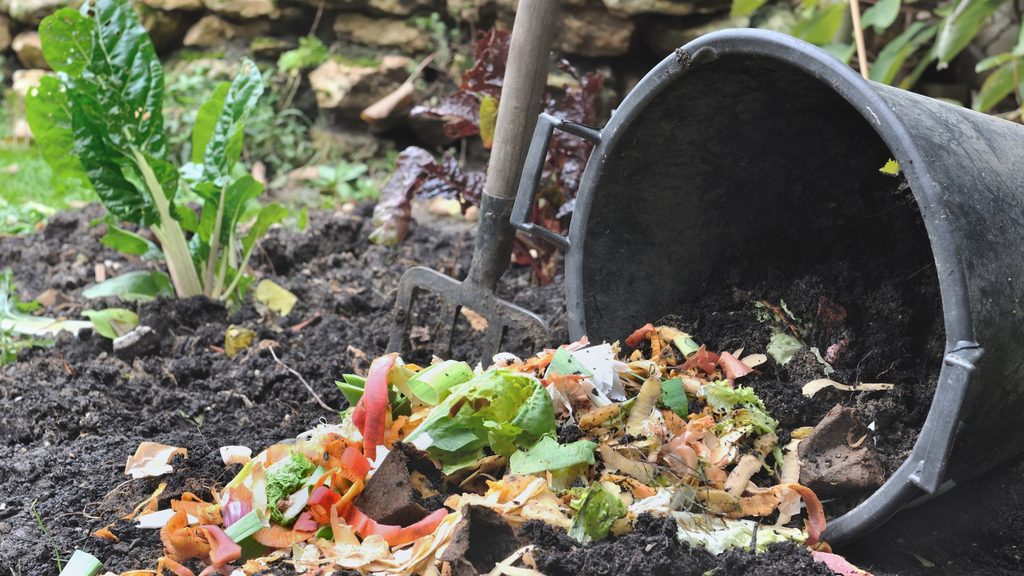
A garden fork is the right tool for turning a compost pile — it moves material without compacting it the way a shovel would.
Step 6 — Speed It Up (Optional)
A well-built pile with the right browns-to-greens ratio and regular turning will produce finished compost in 2 to 6 months depending on conditions. If you want results faster, a few things help:
Chop or shred materials before adding them. Smaller pieces decompose faster because microorganisms have more surface area to work on. Running dry leaves over with a lawn mower before adding them to the pile cuts decomposition time significantly.
Add a nitrogen boost. Worm castings mixed into the pile introduce beneficial microorganisms that accelerate breakdown. A few pounds worked into the layers when you’re building gives the pile a strong biological start.
Worm castings mixed into the pile layers introduce the microorganisms that drive fast decomposition — a natural accelerant that improves the finished compost quality at the same time.
How to Know When It’s Ready
Finished compost is dark brown to black, crumbly, and smells like rich earth — not like rotting food or ammonia. You shouldn’t be able to identify the original ingredients anymore. If you can still see recognizable food scraps or leaf pieces, it needs more time.
The center of the pile finishes before the outer edges. When you think it’s close, stop adding new material and let the whole pile finish. Turn it one more time to move any unfinished outer material toward the center, then leave it for another two to four weeks before using it.
How to Use Finished Compost
Finished compost improves almost any garden soil. Work 2 to 3 inches into vegetable bed soil before planting. Use it as topdressing on raised beds each spring — an inch or two spread across the surface and watered in replenishes nutrients and improves soil structure without tilling. Mix it into potting soil for containers at a ratio of about one part compost to three parts potting mix.
If your raised beds need a compost refresh but you don’t have enough finished pile yet, a bagged compost is a reliable supplement. R&M Organics Compost is a consistent option with good nutrient content for topdressing and bed prep.
If you’ve built raised beds and want to improve the soil mix before adding compost, our guide on how to build a raised garden bed covers soil mix ratios, irrigation setup, and bed depth — all of which affect how well compost integrates into your growing space.
Frequently Asked Questions About How to Start a Compost Pile
How long does it take for a compost pile to be ready?
A well-maintained pile — right browns-to-greens ratio, consistent moisture,
turned every 10 to 14 days — produces finished compost in 2 to 6 months
depending on conditions. A pile that’s built correctly and turned regularly
in warm weather can produce usable compost in as little as 6 to 8 weeks.
A neglected pile that’s never turned may take a year or more. The main
variables are temperature (warm weather accelerates decomposition dramatically),
moisture (a damp sponge consistency, not wet), and particle size (smaller
pieces break down faster). Chop or shred materials before adding them and
keep the pile active with regular turning to compress the timeline.
What is the correct ratio of browns to greens in a compost pile?
The standard recommendation is roughly 3 parts browns to 1 part greens
by volume — though exact ratios matter less than the general principle.
A pile that’s mostly browns with greens layered in at intervals will almost
always succeed. The two failure modes to avoid: too many greens without
enough browns creates a slimy, smelly pile that attracts pests and doesn’t
heat up. Too many browns without enough greens creates a dry pile that
doesn’t have enough nitrogen to drive decomposition. When in doubt, add
more browns — they’re easier to source in quantity (dry leaves, cardboard)
and the pile handles excess carbon better than excess nitrogen.
Can I compost in a small yard or without a big pile?
Yes — the minimum useful pile size is 3 feet by 3 feet by 3 feet, which
fits in a corner of most yards. A compost tumbler is the best option for
small spaces — it sits off the ground, has a smaller footprint than an open
pile, keeps pests out, and produces finished compost faster because the
enclosed system retains heat better. Bokashi composting is another option
for very limited outdoor space — it ferments food scraps including meat
and dairy in a sealed bucket and produces a soil amendment that’s then
buried in the garden. For apartment dwellers, vermicomposting (worm bins)
works entirely indoors.
Why does my compost pile smell bad?
A compost pile that smells like ammonia has too many greens — add a thick
layer of dry browns (cardboard, dry leaves) and turn the pile to introduce
air. A pile that smells like rotten eggs or sewage is waterlogged and
anaerobic — the pile is too wet and lacks oxygen. Turn it thoroughly,
add dry browns to absorb excess moisture, and check that the base is
draining rather than sitting in standing water. A properly maintained
pile smells like earth, not like rot. If you’re adding food scraps, bury
them in the center of the pile under a layer of browns rather than placing
them on top — this dramatically reduces odor and discourages pests.
Should I add worms to my compost pile?
You don’t need to add worms — they’ll find an outdoor pile on their own
once it’s established and the conditions are right. Red wigglers, the
species used in vermicomposting, live near the soil surface and will
colonize an outdoor pile naturally. If you want to accelerate the process,
adding a handful of red wigglers or worm castings when you build the pile
introduces beneficial microorganisms immediately. Worm castings also work
as an accelerant even without live worms — a few pounds worked into the
layers during construction gives the pile a biological head start and
noticeably speeds decomposition in the first few weeks.