

Yardtally is reader-supported. Some links on this page are affiliate links. As an Amazon Associate, Yardtally earns from qualifying purchases. See our Affiliate Disclosure.
Learning how to install a French drain was on my list before I tackled the drainage problem in my own yard. A French drain is a gravel-filled trench with a perforated pipe that redirects water moving through the soil away from problem areas — standing water, soggy yards, or water pooling near a foundation. Installing one is a realistic DIY project for most homeowners: expect a full day of labor, $200–$600 in materials, and basic tools. This guide covers exactly how to do it — when a French drain is the right fix, full step-by-step installation, what it costs, and when to call a pro instead.
What’s in This Guide
- What Is a French Drain and How Does It Work?
- Do You Actually Need One?
- French Drain Cost: DIY vs. Professional
- Before You Dig: Planning and Prep
- How to Install a French Drain: Step by Step
- Maintenance
- FAQ
What Is a French Drain and How Does It Work?
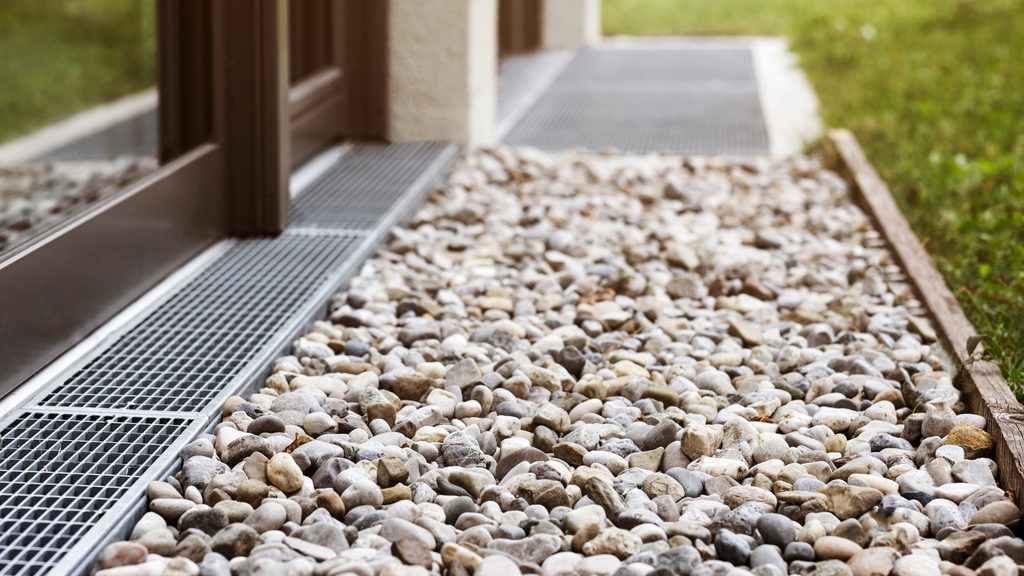
A French drain is a gravel-filled trench with a perforated pipe at the bottom that intercepts water moving through the soil and redirects it to a discharge point — a lower area of the yard, a dry well, a storm drain, or a street curb. Unlike a surface drain that catches water sitting on top of the ground, a French drain works below the surface, collecting water as it moves laterally through the soil before it pools.
The system works on a simple principle: water follows the path of least resistance. The gravel and perforated pipe create an easy path for water to travel through, pulling it away from where it’s causing problems and routing it to somewhere it can safely discharge. A properly installed French drain solves drainage problems that surface-level fixes — aeration, topdressing, downspout extensions — can’t address on their own. Source: UMN Extension — Moisture in Basements: Causes and Solutions
Do You Actually Need a French Drain?
A French drain is the right fix for specific problems, not all drainage problems. Before digging, confirm your situation matches.
Good Candidates for a French Drain
Water consistently pools in the same spot after every rain and doesn’t clear within 24 hours. The pooling area is in the middle or lower portion of the yard — not directly against the foundation (that’s a different problem). You have clay-heavy soil that doesn’t drain well even after aeration. Water is running off a neighboring property or hillside onto yours. A raised bed, retaining wall, or structure is trapping water behind it.
When a French Drain Is NOT the Right Fix
Water is pooling directly against your foundation — a French drain placed too close to the foundation can actually direct more water toward it. Foundation drainage requires a different approach. Your downspouts are dumping water near the house — extend them first before excavating. The yard slope runs toward the house across a large area — that’s a grading problem, not a French drain problem. Our guide on how to grade a yard for drainage covers that fix.
French Drain Cost: DIY vs. Professional
DIY Cost
Materials for a typical 25- to 50-foot French drain run roughly $200–$600 depending on pipe type, gravel quantity, and whether you already own tools. The major cost items are perforated pipe, drain gravel (pea gravel or crushed stone), and landscape fabric. Renting a trencher for a day runs $150–$250 at most equipment rental centers and is strongly recommended for anything over 30 feet — digging by hand through Indiana clay for that distance is brutal.
Professional Cost
Professional French drain installation typically runs $1,000–$5,000 for a residential yard, depending on trench length, soil conditions, and discharge complexity. The wide range reflects real variation — a 30-foot drain in sandy soil near a curb costs far less than a 100-foot system through clay with a buried discharge pipe.
When to Hire a Pro
DIY is viable if: the run is under 50 feet, you have a clear discharge point, the soil is workable, and you’re comfortable with a full day of physical labor. Hire a professional if: the trench needs to be longer than 50–75 feet, you’re in heavy clay or rocky soil, the discharge needs to tie into an existing drain system, or the drain needs to run close to a foundation, utility line, or septic system.
Before You Dig: Planning and Prep
Call 811 First
Call 811 at least 3 business days before any digging. This is a free national service that coordinates with utility companies to mark underground lines — gas, electric, water, cable — in your work area. Cutting a utility line is dangerous and expensive. Don’t skip this step.
Check Local Permits
Some municipalities require permits for drainage work, especially if you’re discharging water to a storm drain, street, or body of water. Check with your local building department before starting. In Indiana, requirements vary by county.
Plan Your Route and Discharge Point
Mark the path from the problem area to the discharge point using stakes and spray paint. The discharge point must be lower in elevation than the starting point — water moves by gravity, so you need a continuous downhill slope. Common discharge options: a lower corner of the yard, a street curb, a dry well, or a storm drain (check local codes for restrictions). Never discharge onto a neighbor’s property.
The trench needs a minimum slope of 1 inch per 10 feet — that’s a 1% grade. Less than that and water will stagnate in the pipe. A simple line level and string stretched between stakes is enough to verify your slope before you dig.
Mark and Avoid Utilities
Once 811 has marked your lines, adjust your route to stay at least 18–24 inches away from any marked utility. If a utility runs directly through your planned path, re-route around it or stop the drain short and pick up on the other side.
How to Install a French Drain: Step by Step
What You’ll Need
Materials: 4-inch perforated drain pipe with sock (the fabric sock prevents silt from clogging the pipe), drain gravel (pea gravel or ¾-inch crushed stone), landscape fabric, stakes and string for layout, spray paint for marking.
Tools: Trencher (rent for runs over 30 feet) or flat spade for shorter runs, wheelbarrow, garden rake, hand tamper, level or line level.
Step 1 — Mark and Stake Your Route
Drive stakes at the start and end points of your trench. Run string between them and attach a line level to confirm the slope runs consistently downhill from start to discharge. Adjust stake positions until you have a clear, continuous grade. Mark the trench path with spray paint.
Step 2 — Dig the Trench
Trench dimensions: 9–12 inches wide, 18–24 inches deep. For runs longer than 30 feet, rent a trencher — it makes cleaner, more consistent trenches than hand digging and cuts the labor dramatically. For shorter runs or tight spaces, a flat spade works.
Keep the trench bottom as consistent as possible — the slope should be smooth and continuous, not stepped. As you dig, remove soil to a wheelbarrow or tarp for disposal or reuse as fill elsewhere.
A consistent trench bottom matters more than perfect walls — water pools at the lowest point, so any dip in the bottom creates a dead zone where the system won’t drain.
Step 3 — Line With Landscape Fabric
Lay landscape fabric in the trench, pressing it into the bottom and up both sides with 10–12 inches of excess fabric draping over each edge. The fabric acts as a filter — water passes through it into the gravel, but fine soil particles can’t get in to clog the system. Overlap fabric seams by at least 12 inches if you need more than one piece.
Step 4 — Add a Gravel Base
Pour 3 inches of drain gravel into the bottom of the fabric-lined trench and level it. This creates a stable bed for the pipe and gives water somewhere to collect before entering the pipe perforations. Use pea gravel or clean ¾-inch crushed stone — avoid pea gravel with dust or fines that can migrate into the pipe over time.
Step 5 — Lay the Perforated Pipe
Place the perforated pipe on the gravel bed with the holes facing down. This is counterintuitive but correct — the pipe collects water that has already passed through the gravel and is sitting at the bottom of the trench. Holes facing up collect surface debris and clog faster. If your pipe came pre-wrapped in a filter sock, it’s ready to place. If not, wrap it in landscape fabric before laying.
One common mistake: using pipe without a filter sock in clay-heavy soil. Without it, fine particles migrate into the pipe over months and eventually block flow completely. Pre-socketed pipe costs a few dollars more and is worth it.
Step 6 — Cover With Gravel
Fill the trench with gravel to within 3–4 inches of the surface, covering the pipe completely. Compact lightly as you go. The gravel depth above the pipe should be at least 3 inches — this is the zone where water first enters the system before dropping to the pipe.
Step 7 — Fold and Close the Fabric
Fold the excess landscape fabric over the top of the gravel, overlapping in the center. This keeps soil from the backfill above from migrating down into the gravel over time. Fabric over gravel — not gravel over bare soil — is what keeps the system from silting up.
Step 8 — Backfill and Finish the Surface
Add 3–4 inches of topsoil over the folded fabric and tamp lightly. You can finish the surface several ways: reseed with grass for a hidden drain, top with a layer of decorative gravel for a visible channel, or lay stepping stones over the run if it crosses a path. A dry creek bed finish is the most attractive option for a drain that runs through a visible area of the yard — our guide on how to build a dry creek bed covers that approach.
Step 9 — Test the System
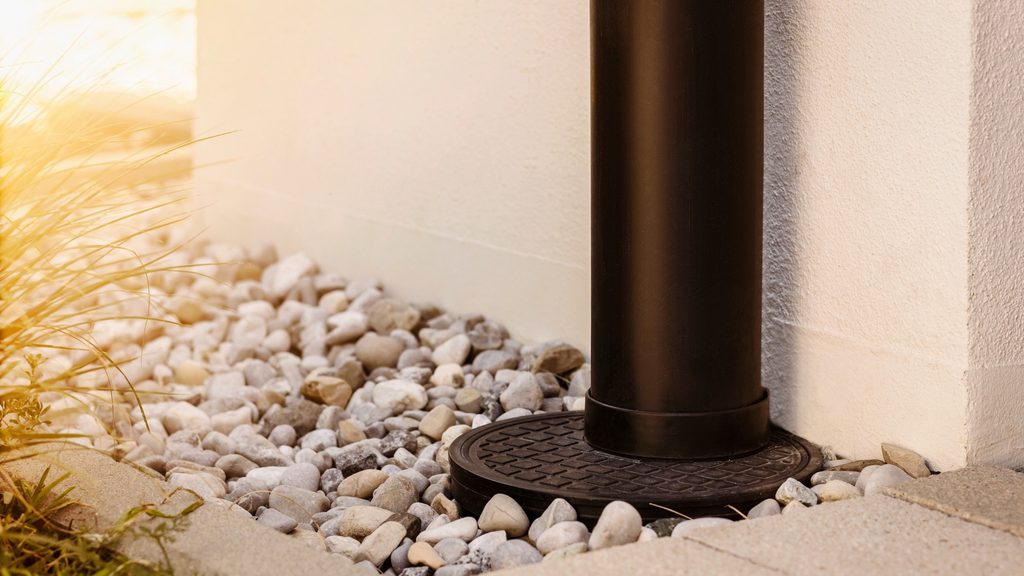
Run a hose at the start of the drain for several minutes and watch for discharge at the outlet. Water should appear at the discharge end within a few minutes. If nothing comes out, check the slope — the most common cause of a non-functioning new drain is insufficient or reversed grade somewhere along the run.
If water discharges but slowly, that’s normal for clay soil — the surrounding ground is still saturated. Test again after the next natural rain event. If there’s still no discharge after 10–15 minutes of hose flow, recheck your slope with a level before assuming the pipe is blocked.
French Drain Maintenance
A properly installed French drain with a filter sock and fabric liner requires very little maintenance. Here’s what to watch for:
Check the discharge point annually. Clear any debris, leaves, or sediment that’s collecting at the outlet. A blocked outlet means the system can’t drain.
Watch for surface settling. The trench area may settle slightly in the first year as backfill compacts. Top up with soil or gravel as needed to keep the surface level.
Retest after heavy rain events. If the drain was working and suddenly stops performing, roots from nearby trees may have grown into the pipe — a common issue after 5–10 years. Flushing with a hose from the outlet end can dislodge minor blockages. Major root intrusion requires replacement.
Don’t plant trees near the drain. Keep any new plantings at least 10 feet away from the drain run. Tree roots seek moisture and will find a French drain.
If your yard is still flooding after installing a French drain, the most common causes are insufficient slope, an undersized pipe for the volume of water, or a discharge point that’s not draining freely. Our article on yard flooding after rain covers the full diagnosis.
Frequently Asked Questions About French Drains
How deep should a French drain be?
Most residential French drains are installed 18–24 inches deep. Shallower than 18 inches and the pipe may not intercept subsurface water moving laterally through the soil. Deeper than 24 inches is rarely necessary for yard drainage — that depth is more common for foundation drainage systems installed by professionals.
How long does a French drain last?
A properly installed French drain with a filter sock and landscape fabric liner typically lasts 30–40 years. The most common cause of early failure is silt migration into the gravel or pipe — which the fabric and sock are designed to prevent. Drains installed without those components may clog within 5–10 years, especially in clay-heavy soil.
Does a French drain need an outlet?
Yes. A French drain with no outlet is just a trench that fills with water and stops working. The pipe must terminate at a discharge point lower in elevation than the starting point — a yard corner, a street curb, a dry well, or a storm drain. Never discharge onto a neighboring property.
What size pipe should I use for a French drain?
For most residential yard drainage, 4-inch perforated pipe is the standard. It handles the volume of water from typical rain events in a yard-sized area. Larger 6-inch pipe is used for high-volume situations — large roof runoff, multiple downspouts, or areas that receive runoff from neighboring properties.
How much slope does a French drain need?
A minimum of 1 inch of drop per 10 feet of run — that’s a 1% grade. Less than that and water stagnates in the pipe rather than flowing to the outlet. More slope is better. Use a line level and string to verify your grade before digging — fixing slope problems after the trench is dug is the most frustrating part of a failed install.
Can I install a French drain myself?
Yes, for most residential situations. DIY is realistic if the run is under 50 feet, you have a clear discharge point, and the soil is workable. Rent a trencher for anything over 30 feet — hand digging through clay for that distance is brutal and unnecessary. Budget a full day and have a helper if possible.
French drain vs. dry creek bed — what’s the difference?
A dry creek bed is a surface drainage feature that moves water across the top of the ground in a decorative rock channel. A French drain is a subsurface system that collects water moving through the soil. They solve different problems — and in many yards, the best solution combines both: a French drain handles the underground water, and a dry creek bed handles surface runoff while looking intentional. See our guide on how to build a dry creek bed for details.