
Yardtally is reader-supported. Some links on this page are affiliate links. As an Amazon Associate, Yardtally earns from qualifying purchases. See our Affiliate Disclosure.
Yard grading means reshaping the slope of the ground so water flows away from your house and toward a drainage point rather than pooling against your foundation or in low spots. Most residential grading problems are completely DIY-fixable with a wheelbarrow, topsoil, and a level — no heavy equipment required for smaller areas. This guide covers how to identify your drainage problem, calculate the slope you need, and fix it without making it worse.
What’s in This Guide
- What Is Yard Grading and Why Does It Matter?
- Signs Your Yard Needs Regrading
- How to Measure Your Existing Grade
- DIY vs. Professional Grading: Which Do You Need?
- How to Grade a Yard for Drainage: Step by Step
- Grading Around Specific Problem Areas
- Maintaining Your Grade Over Time
- FAQ
- Sources & Further Reading
What Is Yard Grading and Why Does It Matter?
Yard grading is the process of shaping the ground around your home so water flows in the direction you want it to go — away from the foundation and toward a safe drainage point. Every yard has a grade, whether intentional or not. The problem is that soil shifts, settles, and erodes over time, and what was once a properly graded yard gradually loses the slope that protects the house.
The target grade for the area immediately around a foundation is a drop of 6 inches over the first 10 feet — that’s a 5% slope, enough to move water away reliably without causing erosion. Beyond that 10-foot zone, a 1–2% slope is generally sufficient to prevent pooling across the rest of the yard. Source: UMN Extension — Moisture in Basements: Causes and Solutions
When grading fails — or was never done correctly — water has nowhere to go. It pools against the foundation, saturates the soil, and eventually works its way into basements and crawl spaces. Even a yard that doesn’t have a basement can suffer: persistent pooling kills grass, creates mosquito habitat, and makes large areas of the yard unusable. If your yard floods after rain, poor grading is often the root cause.
Signs Your Yard Needs Regrading
Any of these are signals that your grade needs attention:
Water pools against the foundation after every rain — even light rain. Soil or mulch has eroded away from the foundation and you can see the concrete or framing. The ground immediately next to the house looks flat or slopes slightly toward it. You have a basement or crawl space that gets damp or wet after rain. Water collects in a low spot in the middle of the yard and sits for more than a few hours. Erosion channels — small grooves worn into the soil — are forming where water runs off.
How to Measure Your Existing Grade
Before you move any dirt, measure what you actually have. This takes about 15 minutes and tells you how much correction is needed.
What You Need
Two wooden stakes, a length of string, a line level, and a tape measure. That’s it.
How to Measure
Drive one stake into the ground right at the foundation — as close as you can get. Drive the second stake 10 feet away, straight out from the house. Tie string between the two stakes and attach the line level near the midpoint. Adjust the string on the far stake until it reads level. Now measure the vertical distance from the string down to the ground at the far stake. That measurement is your current drop over 10 feet.
What the numbers mean: 6 inches or more of drop over 10 feet — your grade is good in this area. 3–5 inches — marginal, monitor for pooling but may not need correction yet. Less than 3 inches — insufficient slope, likely contributing to drainage problems. Zero or negative (string is below ground level at the far stake) — the yard is flat or sloping toward the house, correction needed.
Repeat this measurement at multiple points around the foundation, especially on the sides and back of the house where grading problems are most common.
DIY vs. Professional Grading: Which Do You Need?
DIY-Appropriate Situations
Correcting grade around one or two walls of the foundation where the drop is less than 6 inches short of target. Filling a low spot in the yard with topsoil or fill dirt. Minor slope correction over an area less than 500 square feet. Situations where the fix is primarily additive — building up low areas rather than cutting down high ones.
Hire a Professional
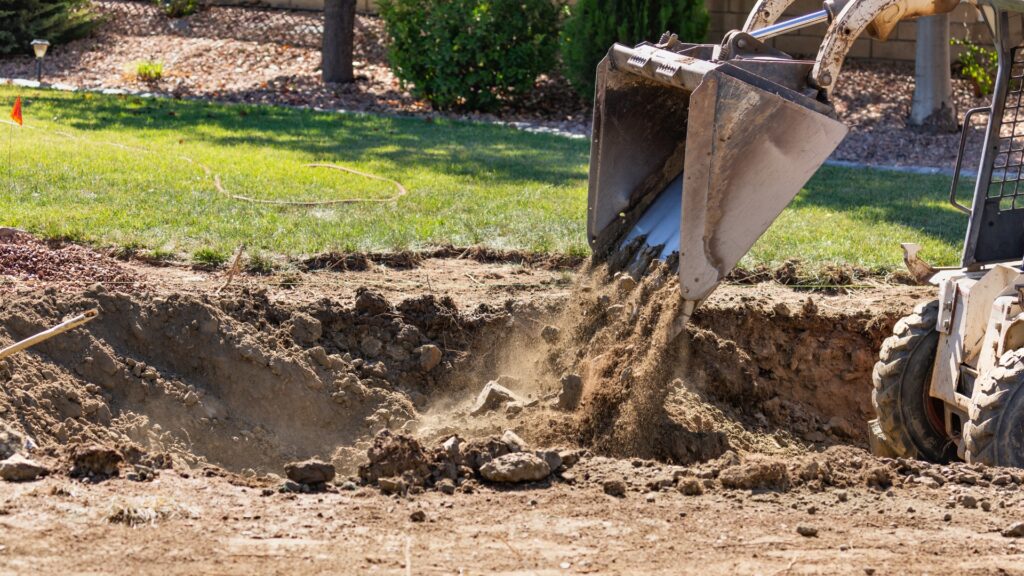
The entire yard slopes toward the house and needs correction across a large area. The yard requires significant soil removal (cutting), not just addition (filling) — moving large volumes of dirt by hand is impractical. You have clay soil that needs amendment across a wide area. The grading problem involves the area within 5 feet of the foundation on multiple sides. Water is already entering a basement or crawl space — at that point you need a professional drainage assessment, not just topsoil.
Cost
DIY grading costs: fill dirt or topsoil runs $25–$50 per cubic yard delivered, plus tool rental if needed. A small foundation grading project — correcting one side of the house — typically costs $100–$300 in materials for a DIYer.
Professional grading costs: $500–$3,000 for targeted grading around a foundation; $1,000–$5,000+ for full yard regrading depending on yard size, soil conditions, and equipment needed. If equipment like a skid steer or grader is required, costs rise quickly. Our topsoil calculator can help you figure out how much fill to order for a DIY project.
How to Grade a Yard for Drainage: Step by Step
What You’ll Need
Fill dirt or sandy loam (for building up low areas), topsoil (for the finish layer), garden stakes and string, line level, tape measure, flat spade, garden rake, wheelbarrow, hand tamper or plate compactor (rental for larger areas), lawn leveling rake for finish grading.
Step 1 — Remove Grass and Vegetation from the Work Area
Use a flat spade to cut and remove sod from the area you’re regrading. Set it aside — if it’s in good shape, you can relay it after grading. For larger areas, a sod cutter rental produces cleaner results than hand cutting. Remove any mulch from beds near the foundation and set aside to replace after grading.
Step 2 — Establish Your Grade Line
Drive a stake at the foundation and another 10 feet out. Run string between them and level it with a line level. Mark on the far stake where the string sits — this is your reference line. Your finished grade at the 10-foot mark needs to be 6 inches below where the string touches the foundation stake. This gives you a visual target to work toward as you add or move soil.
Step 3 — Add Fill Dirt to Low Areas
If the ground near the foundation is lower than the target grade, add fill dirt in layers no deeper than 4 inches at a time, tamping each layer before adding the next. Never use straight topsoil as fill — it’s too loose and will settle significantly. Use a compactable fill material (sandy loam, clean fill dirt) for the bulk of the buildup, then top with 2–3 inches of topsoil for the finish layer.
Keep fill away from any wood framing, siding, or trim — maintain at least 6 inches of clearance between the soil level and any wood to prevent rot and pest entry.
Step 4 — Cut High Spots
If part of the yard is higher than it should be, you need to remove soil rather than add it. Use a flat spade to cut away high spots, loading the excess into a wheelbarrow for disposal or relocation to low areas elsewhere in the yard. This “cut and fill” approach — moving material from where there’s too much to where there’s too little — is the most cost-effective DIY method.
Step 5 — Compact the Fill
Tamp each layer of fill firmly as you go. Loose, uncompacted fill will settle over time — sometimes significantly — reversing your grade correction within a season or two. A hand tamper works for small areas. For anything larger than about 100 square feet, a plate compactor rental is worth the $60–$80 for a day.
Step 6 — Finish Grade and Verify Slope
Use a lawn leveling rake to smooth the finished surface. Re-run your string and line level at multiple points to verify the slope is consistent and correct before you reseed or relay sod. Look for any dips or high spots that would cause water to stall or pool, and correct them now — it’s much easier before grass is established.
Step 7 — Restore the Surface
Relay saved sod, or spread grass seed over the finished grade and cover lightly with straw. Water consistently until grass establishes. Replace mulch in beds, keeping it at least 2 inches below the siding line. If you’re overseeding the regraded area, our guide on how to overseed a lawn covers timing and technique.
Grading Around Specific Problem Areas
Around the Foundation
This is the highest-priority grading situation. The goal is 6 inches of drop over 10 feet on all sides of the house. Even one or two sides with poor grade can cause moisture problems. Work in sections and verify slope at multiple points rather than assuming a uniform grade.
Low Spots in the Yard
A low spot away from the foundation is less urgent but still worth fixing if it holds water for more than a few hours. For small depressions, topdressing with a sandy loam and leveling mix over several applications is often enough. For larger depressions, bring in fill, compact in layers, and finish with topsoil. Our guide on how to fix a yard that floods after rain covers low spots as part of a broader diagnosis.
Slopes and Hillsides
If your yard has a significant slope that’s causing runoff or erosion, simple regrading often isn’t enough — you may need a French drain to intercept the water, ground cover plantings to slow erosion, or a retaining wall to change the grade in sections. Our guide on how to install a French drain covers when that’s the right next step.
Maintaining Your Grade Over Time
Grading isn’t a one-time fix — soil settles, erodes, and shifts over years. Here’s what keeps it working:
Check the grade around your foundation annually. A visual inspection after a heavy rain tells you quickly if water is running the right direction. Re-measure with stakes and string every few years, especially if you notice new pooling.
Top up mulch and beds annually. As organic mulch decomposes, beds flatten and sometimes reverse grade. Keep beds sloping slightly away from the foundation and maintain the soil level consistently.
Fix small issues before they become big ones. A minor dip that holds water for a few hours is a bag of topsoil and an afternoon of work. Left for a few seasons, it becomes a compaction and drainage problem that costs far more to fix.
Frequently Asked Questions About Grading a Yard for Drainage
How much slope does a yard need to drain properly?
The minimum is 1 inch of drop per 10 feet of run — a 1% grade. For areas
near a foundation, the recommendation is more aggressive: 6 inches of drop
within the first 10 feet away from the house. Less than 1% and water stagnates
instead of flowing. More slope is generally better as long as erosion is controlled.
Can I grade my own yard without heavy equipment?
Yes, for most residential situations. A problem area of a few hundred square
feet can be fixed with topsoil, a landscape rake, a wheelbarrow, and a level
and string to verify slope. For larger regrading jobs — an entire backyard,
multiple problem zones, or areas near a foundation — renting a skid steer
for a day or hiring a contractor is the more practical approach.
What kind of soil do I use to regrade?
Use clean fill dirt or a topsoil/fill mix — not pure compost or garden soil,
which compacts poorly and can settle unevenly. For areas that will be seeded,
top the fill with 2-3 inches of topsoil after the base grade is established.
Avoid clay-heavy fill near foundations if you can — it holds water instead
of draining it.
How do I grade around a foundation without damaging it?
The goal is 6 inches of drop in the first 10 feet away from the foundation.
Keep all fill soil at least 6 inches below any wood siding or framing —
burying siding in soil creates rot and pest problems. Don’t pack soil directly
against the foundation wall; taper it so water runs away rather than collecting
against the concrete or block.
Will regrading fix my drainage problem completely?
It depends on the cause. Regrading fixes drainage problems caused by a yard
that slopes toward the house or pools in low spots. If water is also coming
through the foundation wall from hydrostatic pressure, regrading alone won’t
solve it. If the volume of runoff is too high for the grade to handle, a
French drain or dry creek bed running alongside the grade is the next step.